As a portrait photographer, the majority of my work is shot on location. This can be outdoors or in my clients’ homes or places of business. I mostly shoot using natural light and have become adept at finding the best light source in any location as well as creating backgrounds that won’t interfere with the subjects. In this tutorial, I want to show you an easy, natural light portrait setup you can recreate in your own home. Simply by repositioning yourself and your model, you can create three distinctly different portraits from this one setup.
No special lighting or fancy equipment is needed, and the techniques are straightforward and easy to master. Experiment to create different looks using various backdrops such as plain walls or sheets, or different outfits for your subject. You can also get different effects by changing your lens, distance to the subject, and experimenting with different apertures.
Equipment
Below is a list of the items I have used for this setup and suggested substitutes:
- SHEER CURTAIN or FABRIC: You can buy a sheer curtain or length of fabric from any fabric or haberdashery store. I picked this one up from the clearance table at my local Spotlight store (Australia) for under $20.
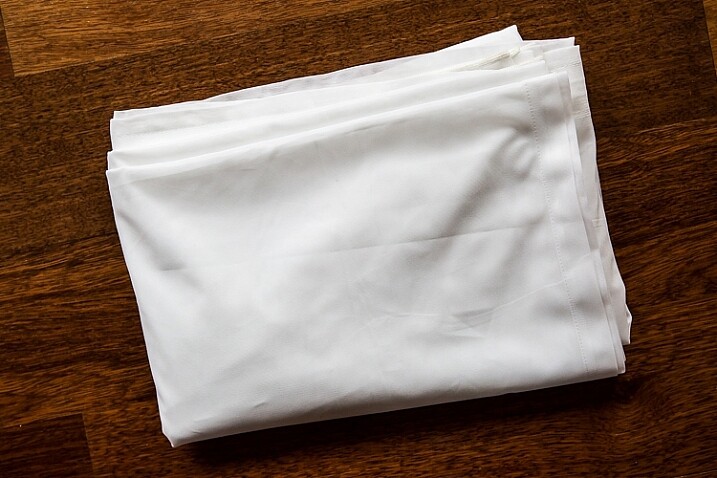
A white sheer curtain or large sheet of sheer fabric will filter the window light.
- REFLECTOR: I have a circular, five-way reflector that follows me everywhere. Each side has a different colour; white, silver, gold, and black, plus a diffuser. It folds into a neat little disc, is lightweight, and can be thrown into the back of my car. You will get endless use out of a portable reflector, and at around $30 from Amazon, it’s a worthwhile investment. However, if you don’t want to rush out and buy a reflector (or wait for your order to arrive before you start shooting) a large piece of white card, polystyrene, or foam board, will work equally well.
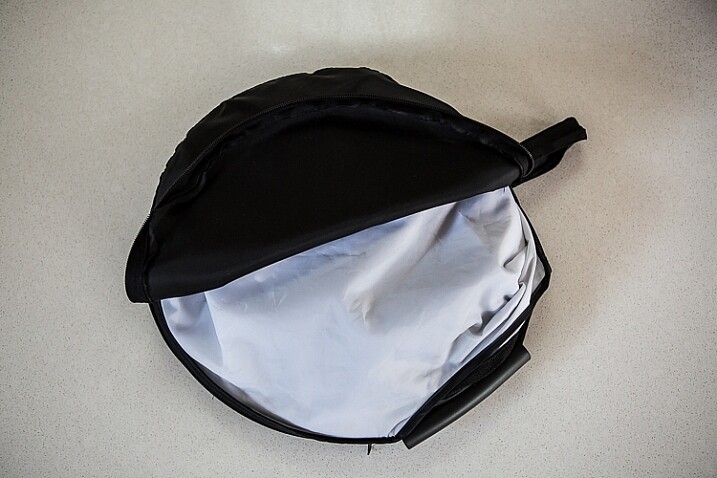
This reflector was a great investment at around $30. It is lightweight and folds up compact to the size of a dinner plate.
- BACKDROP CLAMPS: another Ebay or Amazon purchase, my backdrop clamps come in packs of 12 for under $20. These are infinitely useful for creating makeshift studios. In this instance, I used them to attach the sheer curtain to the rolled-up window blind. You can also use masking tape to stick the curtain directly onto the window, or use heavy-duty stationery clips.
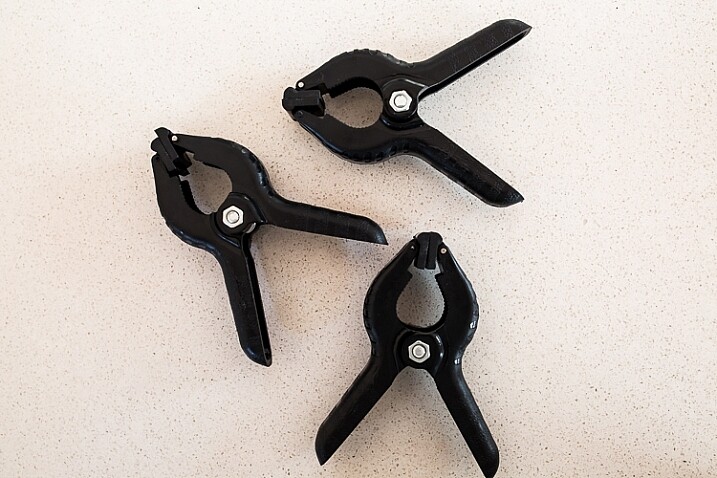
Backdrop clamps can be purchased inexpensively from Ebay or Amazon and similar.
Lens
My favourite portraiture lens is the Canon EF 85mm f/1.8, but you can use a 50mm, a 100mm – whatever works in the space you have. A tighter space will require a shorter focal length.
Basic portrait setup
Look for a window or glass door with a good strong light source coming through, so that you can shoot at the lowest possible ISO. If the window has a sheer curtain, pull it across to filter the light. If there is no curtain, you can attach a piece of sheer fabric to the window using the backdrop clamps or masking tape.
As you can see, the setup couldn’t be simpler. This is the corner of my living room, with sliding glass doors to the left of the shot. The strong afternoon light is filtered with a sheer curtain clipped to the bottom of the roller blinds. I have closed the curtains in the adjoining room to create a dark background for my subject. If your room layout doesn’t allow this, you can hang a sheet or large piece of coloured fabric behind your subject, or just use a plain wall.
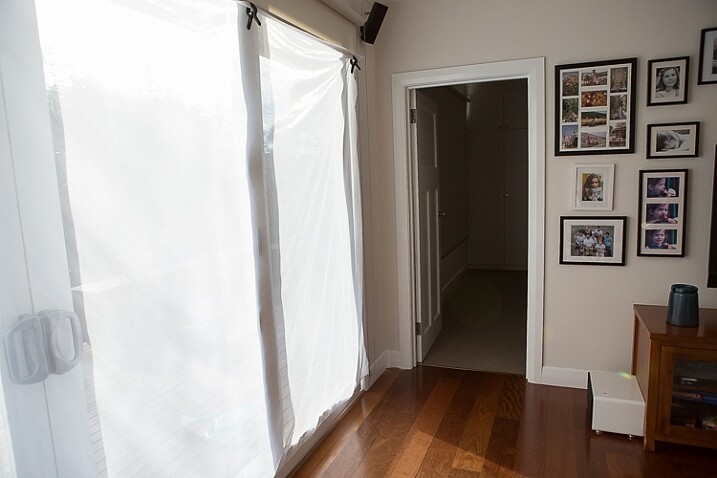
The setup couldn’t be simpler.
As you can see in the setup below, I brought my model forward (away from the open door behind her). This is to ensure she has good light on her face, and that there is sufficient distance between her and the room behind her to make sure it is completely out of focus. In this pull-back shot, you can see some detail in the room behind her. However, in the first pair of portraits, further along, you can see no background detail. The room behind looks like a studio backdrop.
Add a reflector
If you are going to use a reflector, you’ll need someone to hold it for you. If there is no-one to help, try propping it on a chair. Let your creative photographer’s brain get to work and figure out a creative solution.
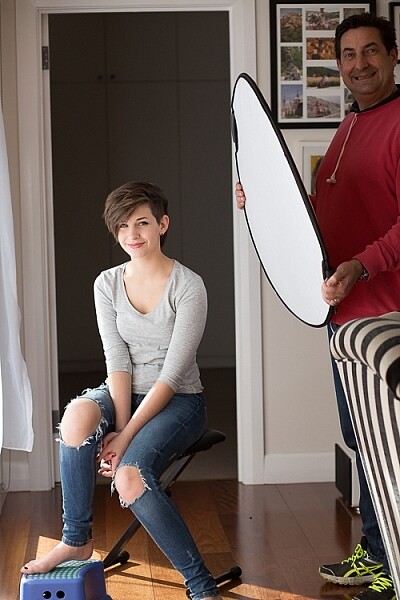
You’ll need an extra person to hold the reflector – in this case, my husband!
Portrait #1: side lighting and a reflector
This is my most-used natural light setup. Side lighting contours and shapes the face, and is flattering for most subjects. If your subject is male, or if you want to create a moodier portrait, you can try moving the reflector further away from your model or removing it altogether. This creates more contrast by increasing shadow on one side of the face.
Your model can sit, stand, or even lie on the floor if the window is low enough. How you position your model’s face and body is up to you. To recreate the look below, your model’s face needs to be at a 90° angle to the main light source (the window). Her body turns 45º away from you. The door behind my model is opened and I darkened the background room to minimize distracting elements. Position the reflector on the shadowed side of her face, to bounce the light back and fill in the shadows.
In the photos below, the image on the left is shot without a reflector. The one on the right is shot with a reflector. The effect in this example is subtle because the light in this room is already balanced somewhat by small, high windows on the opposite wall to the main window. In the photo on the right, you can see how the reflector brightens the face and fills in the shadows, particularly the under-eye shadow of her left eye. It also brings out more detail and highlights in her hair and improves separation from the background.
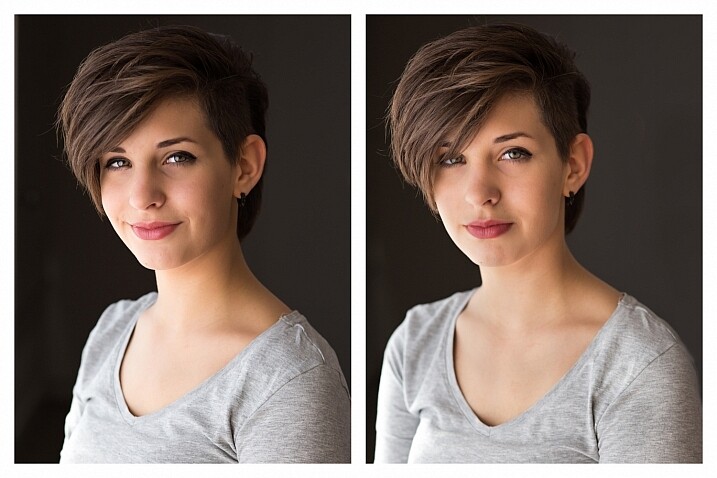
Left (no reflector): ISO 320, f/4, 1/200th. Right (with reflector): ISO 320, f/4, 1/320th.
Portrait #2: shooting into the backlight
I love this technique for photographing women and girls. It creates soft, non-directional lighting on the face, so is flattering to every age group. And the backlighting creates a gorgeous halo around the hair. This works especially well if the model wears her hair out, or wears a dress with some sheer elements – think darling little girls in fairy costumes and tutus!
Technique for backlighting
Using the same window setup as before, your model sits or stands with her back to the window. Position the reflector in front of her, bouncing the light back into her face. Your light meter will try to read the light coming from the window, and will underexpose your model’s face. You can obtain the correct exposure by getting in close to her face to set your exposure. You might also bracket your exposures and check the back of the camera until you’re happy with the result (review the histogram but note that the background area may show clipping – that’s okay). To get the exposure right on the face, you will lose detail in the background, which is the idea!
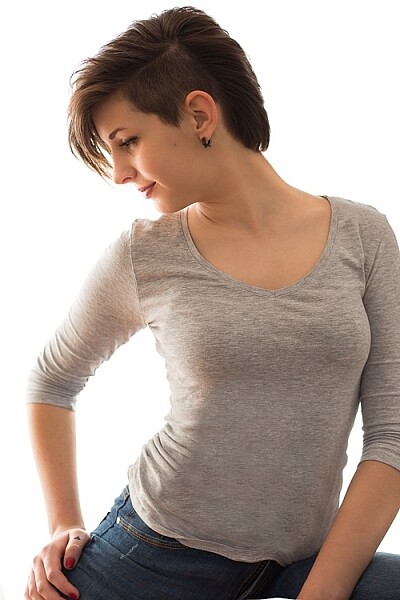
ISO 320, f/4, 1/160th
The photo below is a yoga instructor posing in front of a window on the floor of her studio. The backlighting is beautiful through her hair, and the warm tones of the timber floor reflect back on her skin to give her a golden hue. The lighting technique is identical to the previous photo. But in this photo, I have allowed the curtain and window to be visible as I think it adds something to the scene.
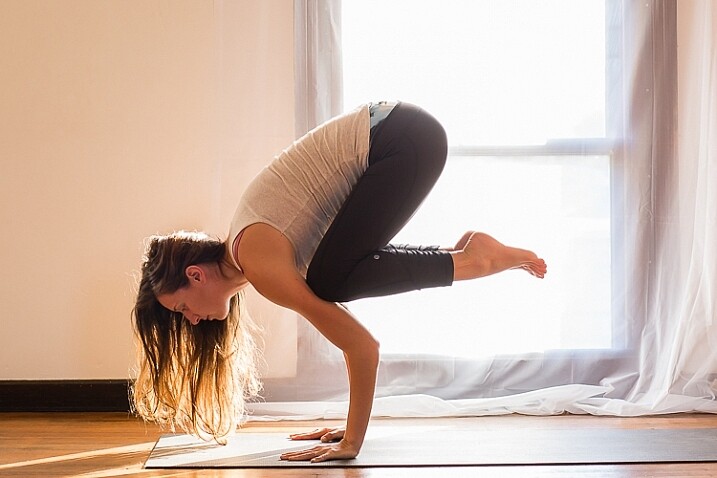
ISO 500, f/5, 1/80th.
Portrait #3: shooting with front-on light
For this set-up, the sheer curtain remains in place. Your model faces the window, and you position yourself between your model and the window. If you are taking a wider shot than the example below, you may be able to bounce light into the back of her hair with a reflector.
Frontal lighting removes virtually every shadow on the face. It brings out detail and colour in the eyes, and can be quite striking with the right subject. However, this technique is not for everyone. It can give the face a flat, two-dimensional appearance, and if the light source is too strong, your subject will squint. This lighting tends to highlight every imperfection, which is fine if your subject happens to be young and gorgeous. But, it can be too harsh for a mature model, or someone with a lot of blemishes.
Examples of front lighting
The photo below of a young girl snuggled into a faux-fur hood has been enduringly popular on my social media sites. It was shot using this lighting technique in warm, late-afternoon light.
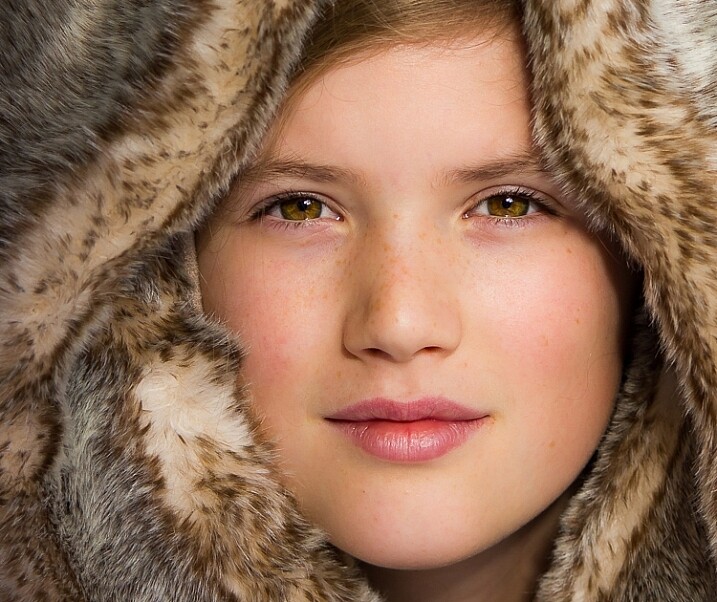
ISO 400, f/4.5, 1/200th.
The photo below of my daughter, sun-kissed after a day at the beach, was photographed with front-on lighting. As we were on vacation and I didn’t have my usual bag of tricks at hand, I didn’t use a sheer curtain to filter the light. As you can see, the highlights are more pronounced than those in the first photo, but the effect is similar.
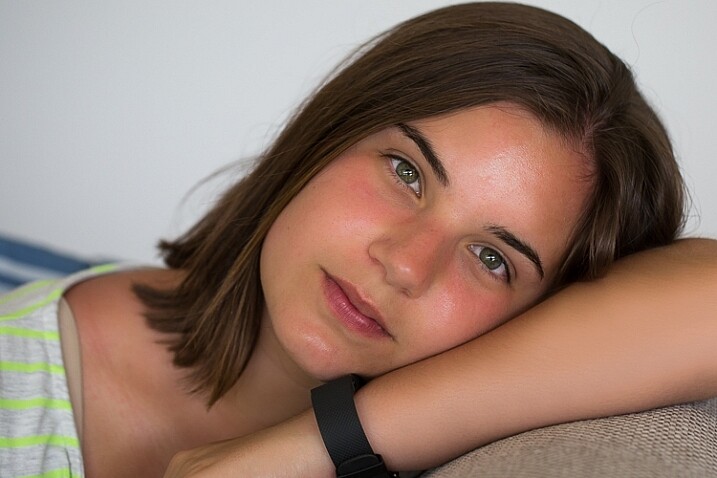
ISO 250, f/3.5, 1/125th.
Now it’s your turn
I’d love to hear how you get on trying this setup at home. Please post any questions, comments or examples of your portraits in the comments section below.
Don’t forget, there is also our dPS Facebook Group, which you can join to share your photos and get a critique from other dPS readers.
The post How to Use 1 Natural Light Setup to Create 3 Different Portrait Looks by Karen Quist appeared first on Digital Photography School.
from Digital Photography School http://digital-photography-school.com/natural-light-setup-3-portrait-looks/
No comments:
Post a Comment