Live View versus optical viewfinder on your DSLR, pros and cons?
If you shoot with a DSLR you probably use the same method for taking pictures that most people do, holding the camera up to your eye and looking through the viewfinder before snapping the shutter button.
This tried-and-true method has several benefits, including letting you see precisely what you are going to take a picture of before you click the button. Also, allowing you to track fast-moving subjects without any lag time, and even stabilizing the camera due to the fact that it’s being held up against your face instead of away from your body.

Getting this shot using the optical viewfinder wouldn’t have been impossible, but it would have been much more difficult.
However, the Live View function that is built into most DSLR cameras has a few tricks up its sleeve that can greatly benefit you as well. While not useful in ever single photographic situation, Live View certainly is worth a second look if you are the type of person who normally casts it aside in favor of the traditional viewfinder.
#1 Make sure your subject is perfectly focused
When you look through the optical viewfinder on your camera, you will see an array of rectangles or dots which each represent points on which your camera can focus. This is a result of your camera’s phase detect focusing system which is present in nearly every DSLR. While it usually works just fine, there are situations in which it can present a bit of a problem.
For one, the subject on which you are focusing can sometimes be outside the boundary of your focusing points, which makes it quite difficult to get it tack sharp even with something like the focus-and-recompose technique. Also, even with using the built-in focusing points it’s not always a guarantee that your subject will be completely in focus, especially if it is very far away like when shooting landscapes or scenic vistas.
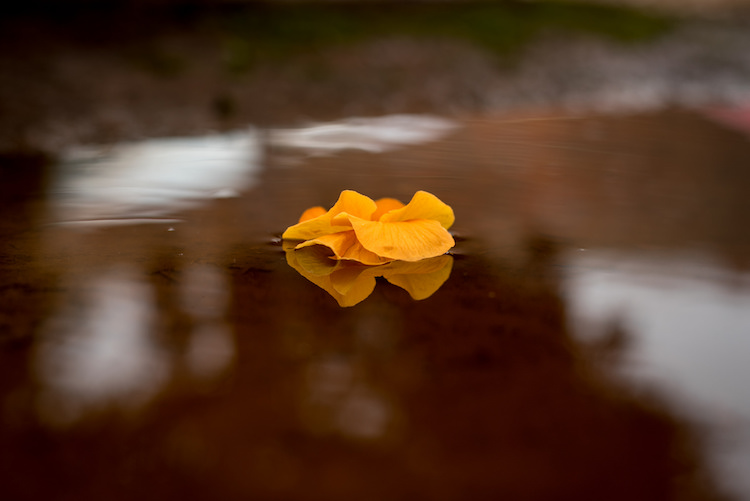
Live View helped me get this flower focused just how I wanted, and instead of laying in the mud I used the flip-out screen to help me compose the picture.
Zoom-in on Live View
Live View is the magic bullet in these situations, as you can use it not just to frame your shot, but to zoom in close on a specific area to make sure it is focused. Think of this as though you were holding a magnifying glass up to your camera’s viewfinder when focusing on your subject, and using that as the basis for judging whether it is tack sharp or just a bit fuzzy. This obviously works best if your camera is firmly attached to a tripod, but even if you just set it on a solid surface such as a shelf, rock, post, or other object, you should be fine.
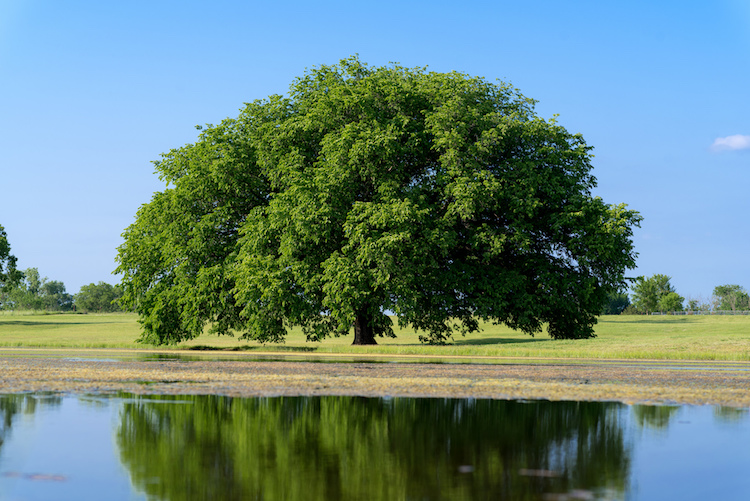
Live View can be a good way to make sure your subjects are tack sharp and perfectly focused.
Each camera handles the zoom-in function a bit differently, but for most DSLRs there will be an option in one of the menus to enable a button on your camera to zoom in during Live View, and even set the percentage of zoom which tells you how much it will magnify the image. If your subject is not moving, and neither is your camera, this technique is one of the best possible ways to make sure everything is tack sharp precisely how you want it to be (using manual focus in this instance can be helpful also).
#2 See previews of camera effects in realtime
One fun trick that many DSLR manufacturers have added to their cameras is the ability to do various types of effects like selective coloring, miniature, and black-and-white, among many others. Think of them as though you are adding Instagram filters, but in realtime, as you are taking your pictures instead of on your phone afterwards.
Using Live View as you activate various scene modes is a fun way to experiment with different types of creative image effects. It also has the added bonus of allowing you to play around and see how the options affect your photography before you even click the shutter.
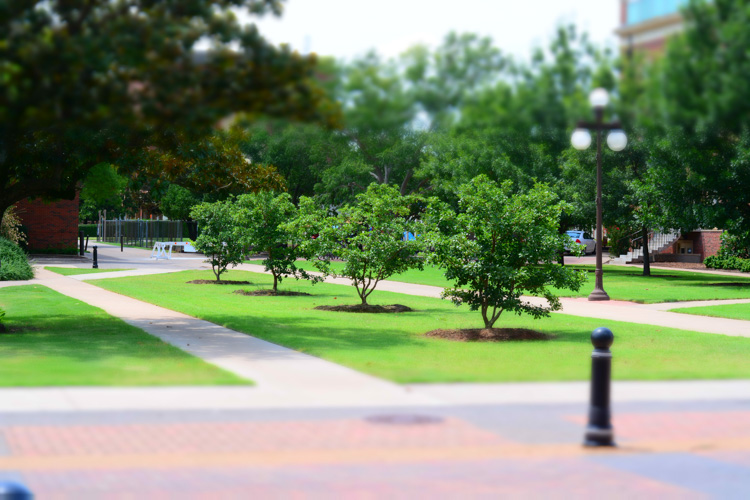
A common camera effect is “miniature,” which mimics a tilt-shift lens. It’s fun to play around with these built-in effects using Live View, which shows you a preview of what the final image will look like as you compose it.
Some photographers frown on this type of creative expression, and prefer to leave these effects and scene modes to Photoshop, where things can be endlessly controlled, changed, and tweaked to perfection (often ad nauseam). But, my own personal stance is, if you’re making pictures you enjoy by using simple in-camera effects, then why not keep doing it?
Some of the built-in modes are a little cheesier than others, and you usually can’t shoot in RAW format. But using Live View to preview the different sorts of photography effects you can explore, is a great way to try something new and add a little spark back to your creative juices at the same time.
#3 Depth of Field preview
This one piggybacks pretty well off of the previous item, but I wanted to list it separately because it is so useful on its own. When you change the aperture and focal length of your lens, you are also changing the depth of field, or area that is in focus. It’s a difficult concept to understand since it involves several different variables, including how close you are to your subject and how far away is the background.
This confusion can be compounded by the fact that your optical viewfinder doesn’t really show you what to expect when you click the shutter button. Some DSLR cameras have a Depth of Field Preview button that allows you to close down the aperture and see what it will look like when you take a photo (it also gets dark if you use a small aperture), but another way to do this is by using Live View.
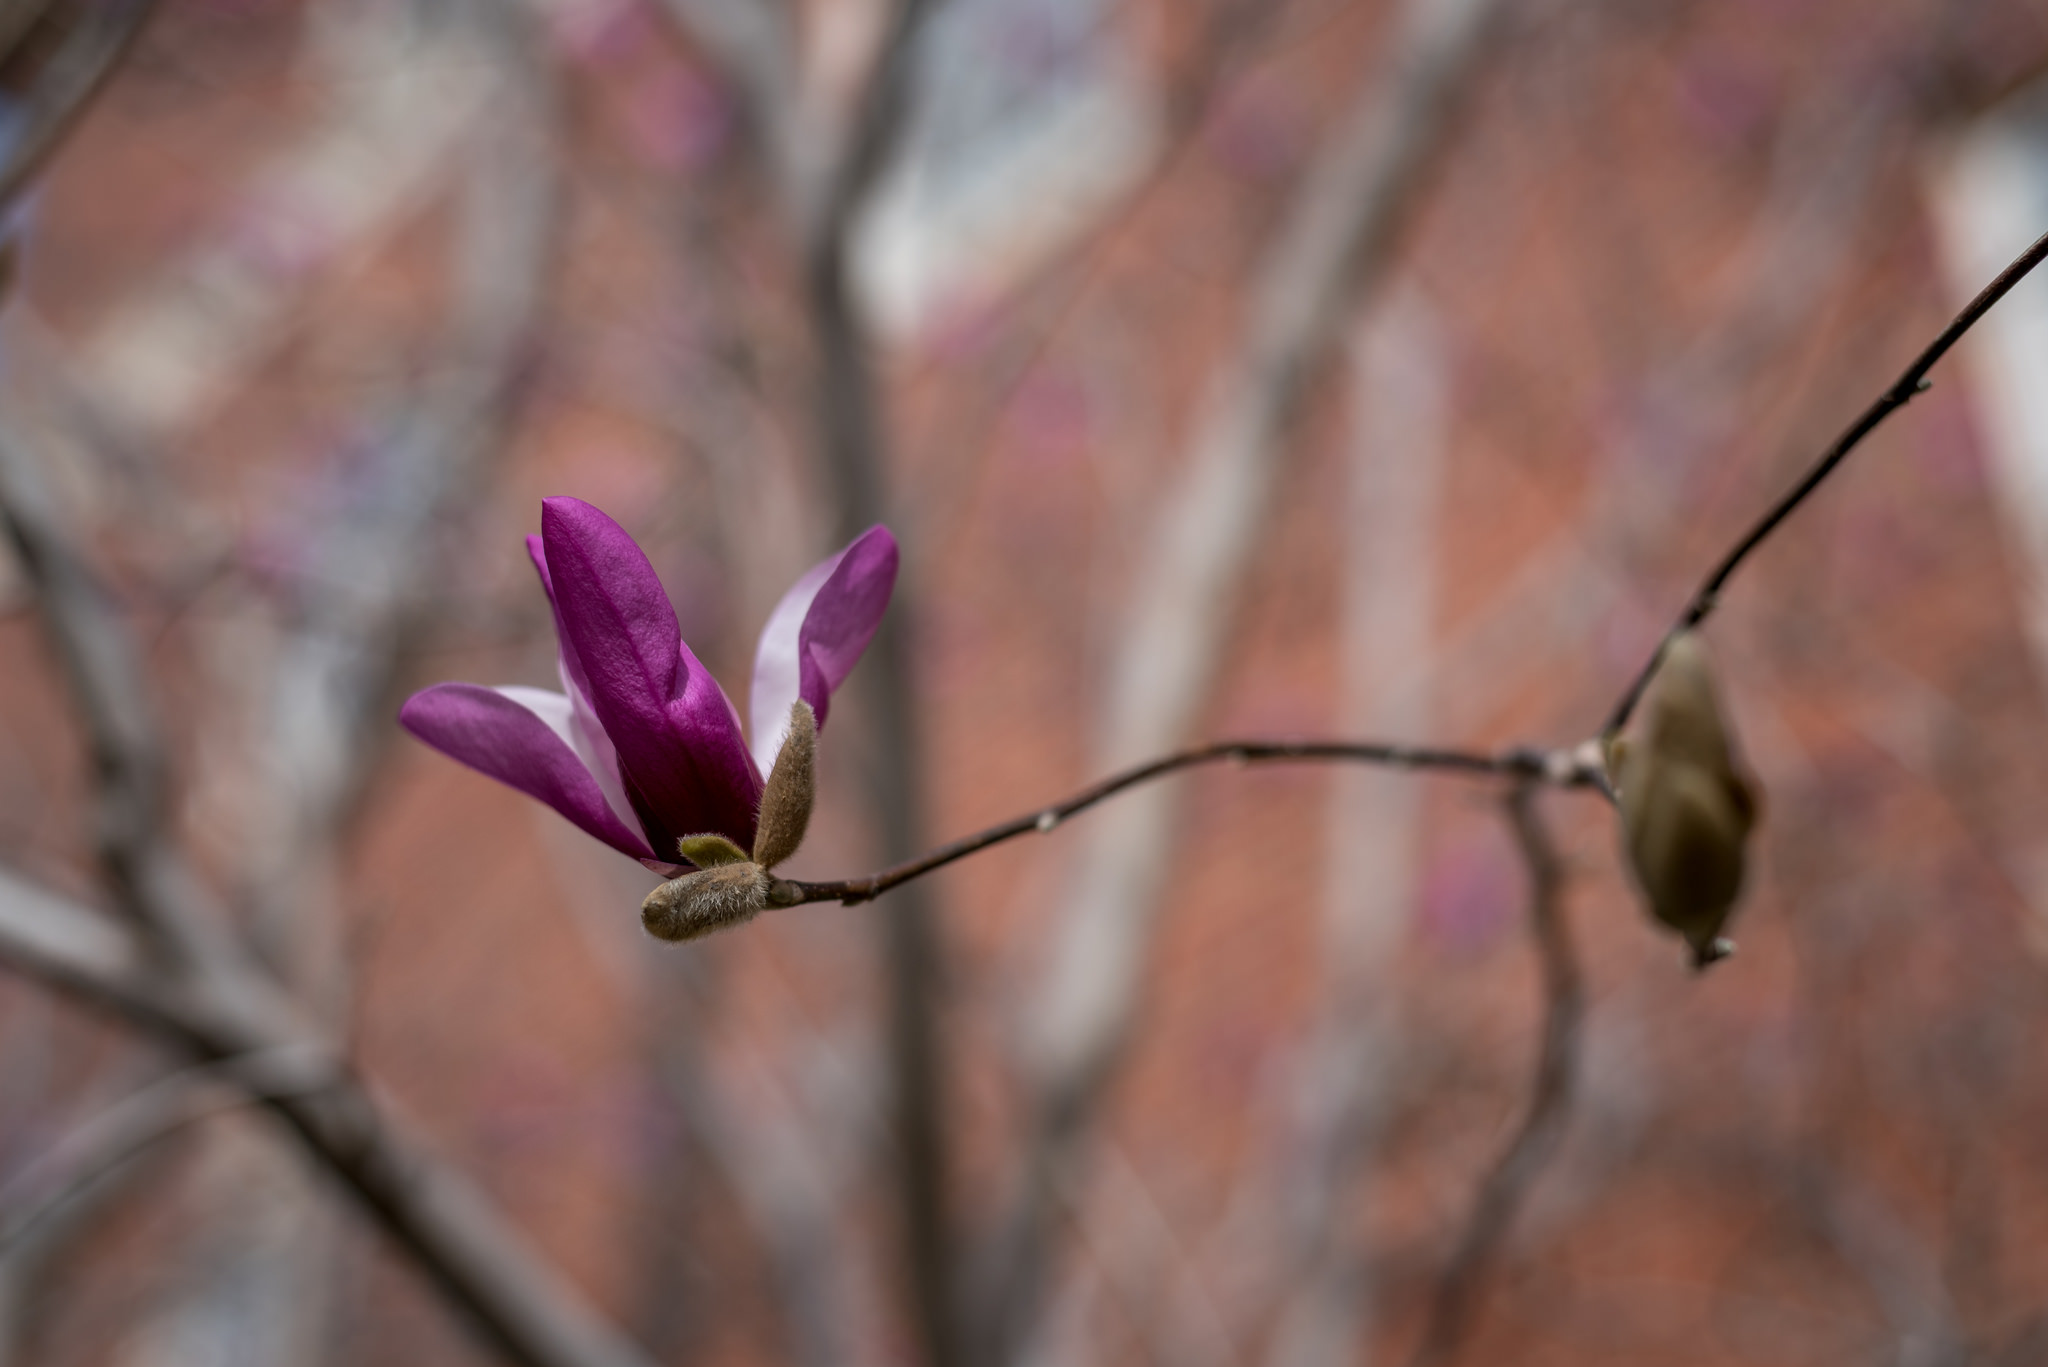
It really helped to see a preview of the depth of field by using Live View when composing this image.
How it works
When you look through the viewfinder on a DSLR camera you are seeing through the lens while it is opened to its widest possible value. But, when you click over into Live View the aperture blades close down to the value you’ve specified, or that which the camera thinks is appropriate, depending on the shooting mode you are using.
This makes it possible to see precisely what the picture will look like when you press the shutter button. So, if you focus on an object while in Live View, you will see a more accurate representation of the depth of field than looking through the viewfinder. This is incredibly useful when shooting macro photos, because it’s difficult to understand just what is in focus and what is not unless you can see it yourself using Live View.

Depth of field can be extraordinarily thin when shooting macro pictures, and using Live View to see a preview of the final result is a good way to get the photo to show up just how you want.
#4 Tap to focus
One final trick that Live View offers, is the ability to actually use it for the act of focusing itself. As more cameras start implementing touch screens, manufacturers like Canon have started allowing users to tap on the screen itself to actually focus the camera, much in the same way you do on your mobile phone.
While this feature is not available on all DSLR cameras, and though some with touch screens don’t have focusing enabled, if you do have a camera that allows you to tap-to-focus you might find it incredibly useful and well-worth your time. This won’t do you any good if you are shooting sports, action, or wedding photos, since the touch-based focusing isn’t as quick. But if you are out shooting casually it’s something you might really enjoy trying.
It even has some advantages over traditional viewfinder-based focusing if you are shooting at extreme angles, such as very low to the ground. More and more cameras are offering flip-out screens so you can swivel it, instead of crouching down, and then tap it to lock focus.

If you have a touchscreen, using Live View can be a great way to make sure your subject is focused exactly how you want by simply tapping the area you want to be in focus.
Summary
These are just a few of the options available to you if you use Live View on a DSLR. If you are more of a traditional shooter who prefers the optical viewfinder I hope you at least give Live View a chance. It’s not going to be the best option in every situation, but you may find it to be more compelling and useful than you realize.
If you do like shooting in Live View and have your own tips to share, please leave your thoughts in the comments below!
The post 4 Tips for Using for Live View to Get Sharper and More Creative Images by Simon Ringsmuth appeared first on Digital Photography School.
from Digital Photography School http://digital-photography-school.com/live-view-dslr-sharper-creative/
No comments:
Post a Comment