Whether you have been creating photographs for years, or only for few weeks, your goals and dreams are to create great photographs that everyone will admire. You may notice this is not an easy task, and I’m sure that most of the time you experience more disappointments than successes. But don’t worry, I have for you six essential steps that will help you speed up the process, and give you confidence on your journey to these elusive great photographs.
Step 1 – See
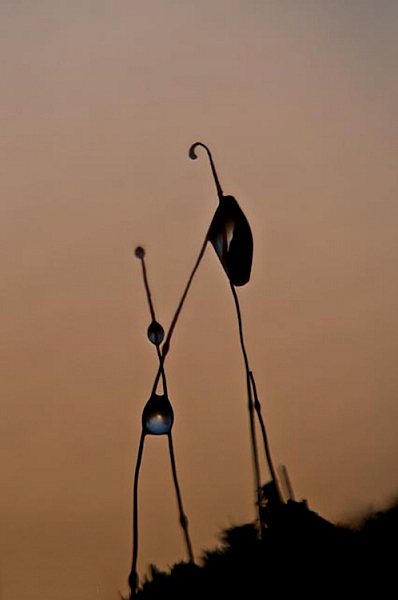
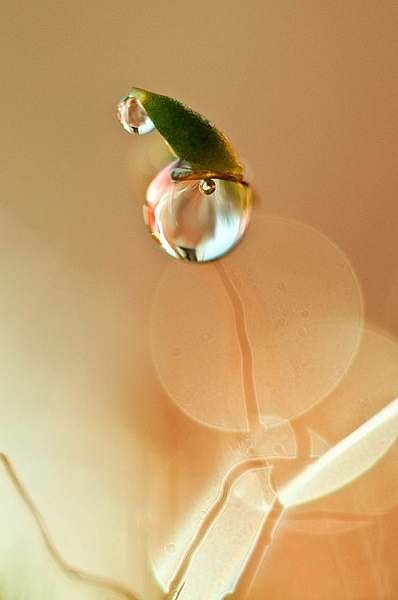
Seldom does a photograph succeed because of unusual technique or exotic equipment. Most of the time it succeeds for one simple reason – the photograph was well seen. So, to create great photographs we just need to learn to see better.
Unfortunately this isn’t as easy as it sounds. There’s more to seeing than just looking. It requires time and patience. Begin by concentrating on the objects before you; see how light strikes those objects; see colour, see quality and direction of light, see contrast, see texture, lines,forms and shapes, see details.
The strength of a photograph is directly related to how well, and how carefully you see things around you.
 |
 |
Step 2 – Feel
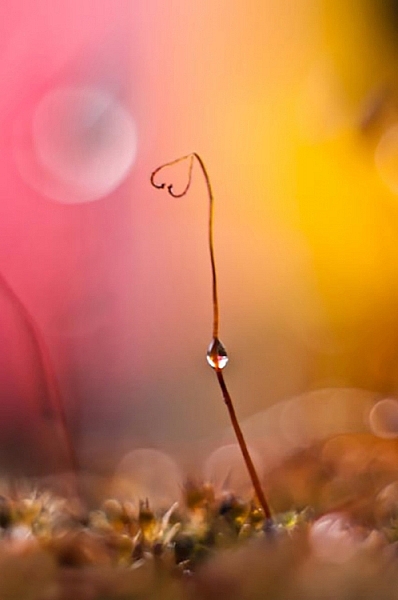
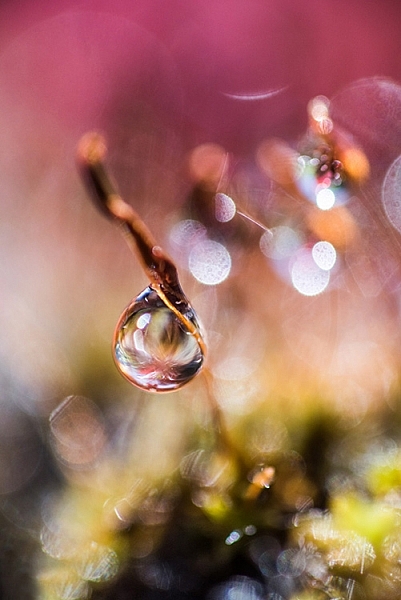
Feeling has to do with the emotions generated by a place or subject. Sometimes you need to just sit and absorb your surroundings. Listen to the wind and the birds. Smell the flowers. Feel the rough texture of the trunk you sit on. If you are photographing an animal, watch its movement and behaviour. If you are photographing people, listen to their words, and try to understand their feelings expressed by body language. You can’t photograph the smell of flowers, the sound of birds, or the feelings of a person, but the emotions generated by them can guide you in finding the essence of the scene or subject.
 |
 |
Step 3 – Think
This is the most important step in the process. Strong images begin in the mind, not in the camera. Before you begin photographing ask yourself, “Why am I about to take this photo?”
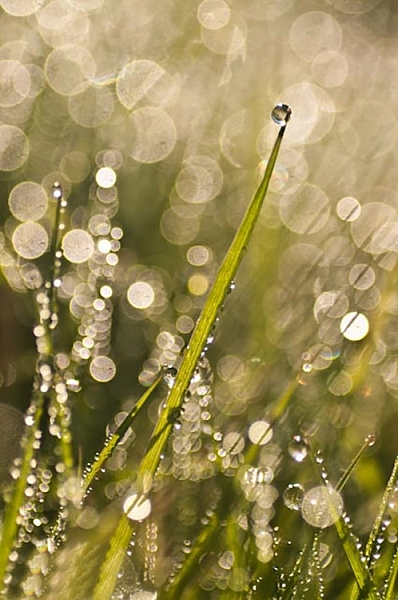
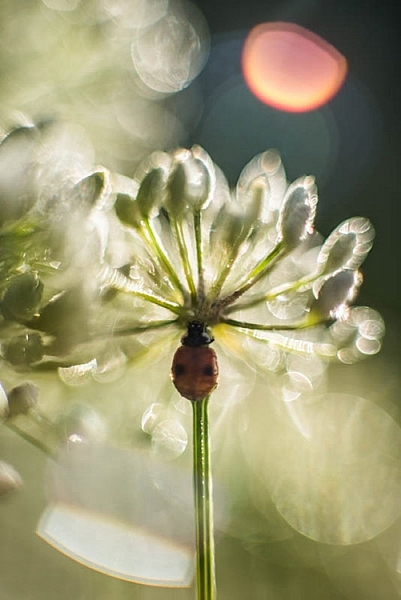
Think about how you will use that sensual input and combine it with your camera, the lighting, and the mood. Is the lighting the best? Would soft, overcast light work better? What about angle of view? High angle? Low angle? Which lens will give the effect you are after? What about shutter speed and aperture?
Answering all these questions is very easy when you have a clear idea of why you want to take an image. Your choices will be completely different when you want to just record your holiday, as opposed to capturing the warm glow cast over the scene by the evening light.
 |
 |
Step 4 – Isolate
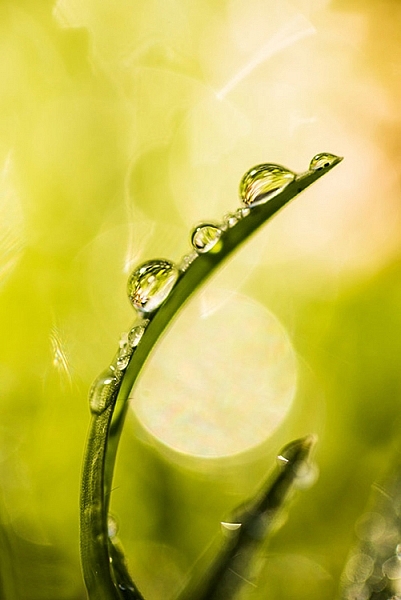
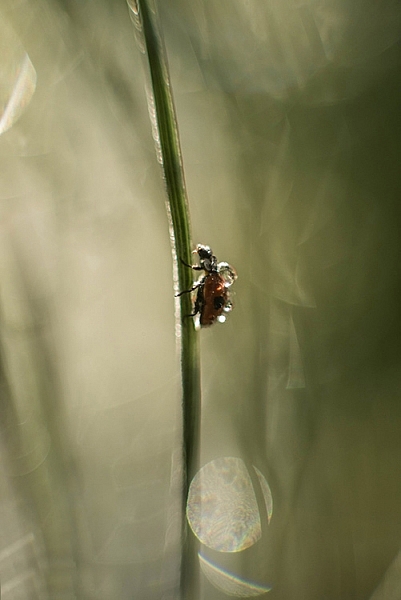
Many good shots have been spoiled through poor composition. We tend to concentrate our attention on the subject of a photo, remaining oblivious to what is going on beyond. Make a habit of spending just a second or two before pressing the shutter, checking the viewfinder for any unwanted elements. Get rid of those chaotic objects in the picture. Simplify. Isolate only those elements that convey the message you are trying to express. Emphasize the strong lines, shapes, patterns, textures or colours – but not all of them at once. Be bold and decisive. Ask yourself why. What does it contribute to the overall image? Can you make it stronger by isolating even more? Would you hang that picture on your wall? If not, why not?
 |
 |
Step 5 – Organize
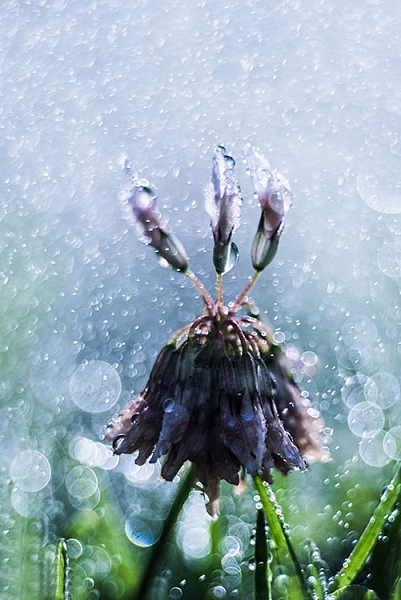
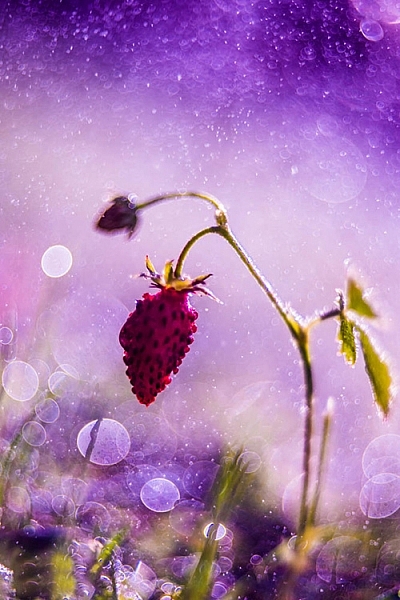
Having isolated carefully, you now need to organize or arrange the elements in the strongest possible way. Where should you place the subject in the frame? In the centre? If so, why? The arrangement may be too boring or static, or on the other hand, it may convey a sense of peacefulness. Or should you put the subject near the edge of the frame? What about the picture orientation itself? You have a choice of creating a vertical or a horizontal image. Which is best for the subject? Vertical orientation tends to emphasize vertical lines or the height of things. Horizontal orientation can give emphasis to sweeping panoramas or the movement of subjects. When you make these choices, always by guided by the message that you are trying to express.
 |
 |
Step 6 – Experiment
Digital photography makes it easy to experiment because you have instant feedback on the LCD screen. Look for new ways to portray familiar subjects. Don’t always photograph the same kinds of scenes in the same ways. Be creative, try different lenses or compositions or angles of view. Play with light. Investigate, explore, observe, evaluate. Don’t be afraid to make mistakes, and above all, have fun!
The post Six Essential Steps to Taking Great Photographs by Eva Polak appeared first on Digital Photography School.
from Digital Photography School http://digital-photography-school.com/six-essential-steps-taking-great-photographs/

No comments:
Post a Comment