Many of us start out treating coastal photography the same as landscape photography. There are a lot of similarities. For both, you head out into the great outdoors, often to remote locations. You need a tripod and a remote shutter release for stabilization. You are capturing an entire scene rather than a discrete item or person. You want a deep depth of field. And so on.
But there are also differences between the two. In fact, treating coastal photography the same as landscape photography could leave you woefully unprepared when you head out. It could also lead to confusion as to how to set up and expose your photos. This article will help you get started with coastal photography, even if you are already familiar with outdoor shooting generally.
What to bring with you
There are two items you’ll need to add to your kit before you head out to do coastal photography. Both are filters, and you may have one of them, but they are both critical.
Neutral density filter
The first is a neutral density filter. In fact, you will probably want more than one since they come in different strengths. If you are not familiar with these filters, they restrict the amount of light allowed into your camera. Why would you want to do that? So you can slow down your shutter speed and allow the waves or the clouds to move through your frame while you are exposing the picture. That will smooth things out for you.
We’ll talk more about using them later, but for now just know that you’ll need one. I would start with a 10-stop neutral density filter, which is about as powerful as you will ever need. You can then add lesser strength filters like 6-stop and 3-stop filters later.
Graduated neutral density filter
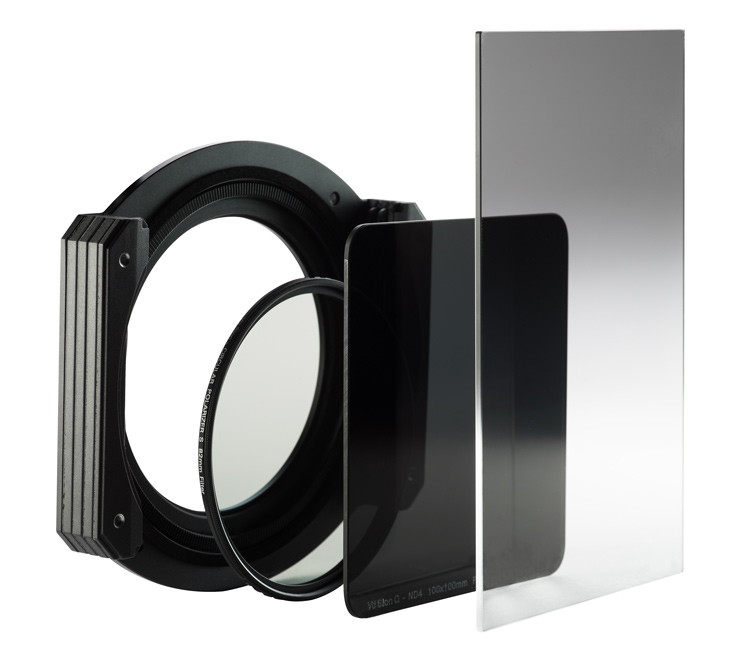
Drop-in style filter system with a graduated neutral density filter on the right.
The second item you will need is a graduated neutral density filter (aka grad ND). You may already have this one since it is also useful for landscape photography. However, it is remarkably useful in coastal photography and you will use it all the time. In landscape photography, you may have trees, mountains, or other items sticking up into the sky such that you cannot use the grad ND.
In coastal photography, however, very often the horizon line is clear and unbroken in your picture. It makes is easy to use the grad ND in a lot more situations. For this reason you will use it all the time. In addition, the sky is often a significant portion of your picture in coastal photography. So making the sky look its best is incredibly important.
Where to go
Now that you have the right gear, it is time to head out. Before you do, spend some time thinking about where you will go. When you first get started in coastal photography, you will have a tendency to go one of two places: either a scenic overlook or a beach. Both have problems though, so let me explain a bit.
A great view does not always translate into a great picture. Therefore, just going to a scenic overlook will often not result in great photos. It can, so I’m not saying to avoid them, but just be aware of a few problems you are going to face. The primary problem is that you will have difficulty establishing any sort of foreground. You are up too high, and there is usually nothing to use to bring the viewer into the picture. We’ll talk more about composition in a minute, but for now just understand that you often need to get down near the coast and sometimes even get right behind something to set up an interesting composition.
On the beach
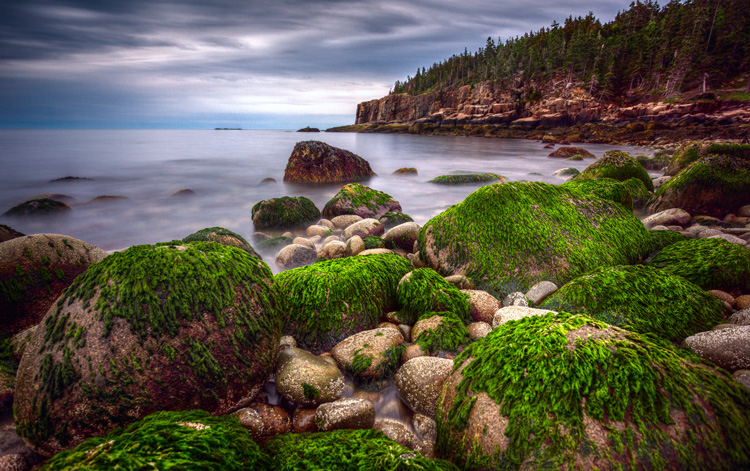
When you do manage to get right next to the coast, often that will be on a beach. Beaches are great, but they have their own problems when it comes to composition. After all, a beach is just a bunch of sand, and that’s hardly something that is going to look great in your picture. You need to find something to use as a subject or at least a center of interest. Sometimes that’s a physical object in the sand (boulder, boat, moss, etc.), or it might be a pattern in the sand itself.
The best places to go are where there are interesting features to use as foreground, and you can get down to the coast. While I just warned about beaches, very often they are the best place. They allow you access to the coast, easy parking, etc. Just don’t stay in the middle of the beach. Look for interesting features, walk to the periphery, or even go beyond the beach.
When to go
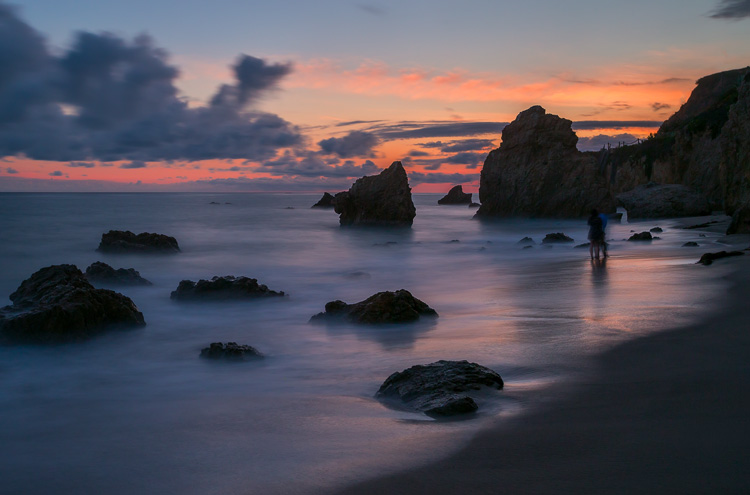
Next you need to decide when to go take your coastal photos. This one is easy. You want to go before sunrise or at sunset.
While this tip is easy, it is also absolutely critical. The sky will often take up a healthy chunk of your picture, so you need it to be interesting. Further, if you go in the middle of the day, you will face harsh contrasts that will ruin your picture. Avoid doing that whenever possible.
This leads to another problem, which is access. Many beaches and scenic coastal areas are closed and blocked off until sunrise or even later. You’ll miss the best light waiting around for them to open. Pay attention to opening hours and access to make sure you can get your shot.
How to compose your coastal photos
When it comes to composing your pictures, you always want to think about the foreground, subject or center of interest, and the background. You’ll generally want to set these up in your picture according to the Rule of Thirds.
Background
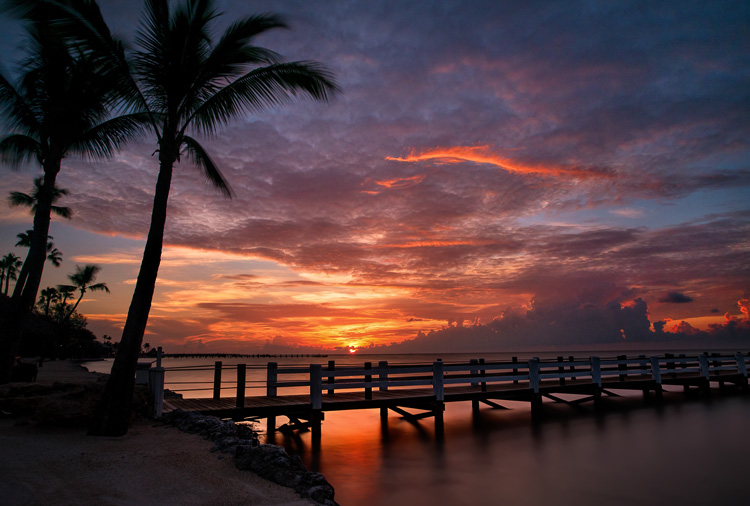
Let’s start with the easy one first, the background. In coastal photography, the background of your picture will usually be the sky. That’s one of the reasons why heading out before dawn or at sunset is so important. The sky just looks better at those times. When it comes to composition, the background will be determined by how the sky looks. Therefore, you hardly need to think about the background of your picture.
Foreground
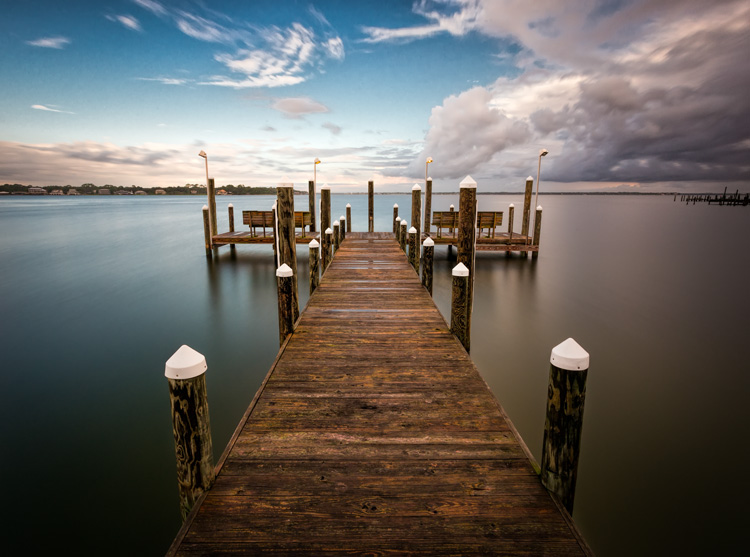
That leaves the foreground and some sort of subject or center of interest to worry about. The subject is very important, but it varies dramatically from person to person and scene to scene. It can be a physical thing like boulders or plants, or it can be a man-made item like a boat or a lighthouse. Your subject can even be an intangible thing like a leading line or a shape. Just make sure there is something tying the picture together. If you don’t, you will be left with a mere snapshot.
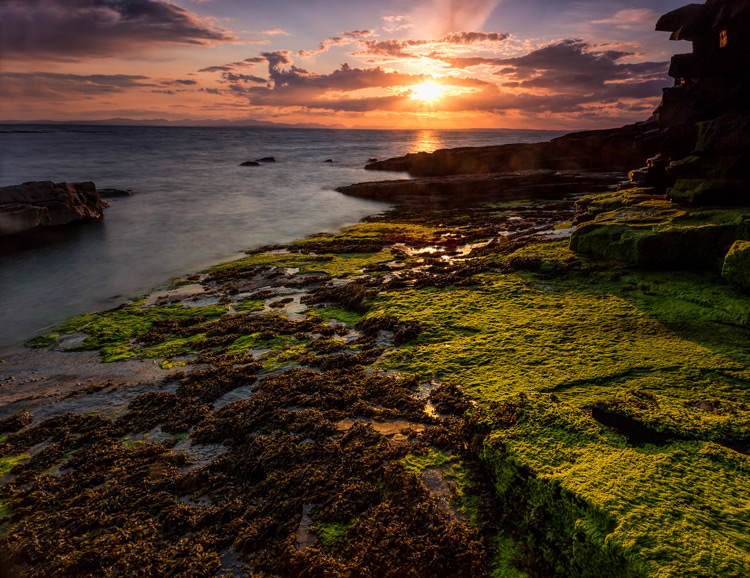
And finally we get to the foreground. This is often the hardest part of the picture to set up, but at the same time it is also the most important. You want to use foreground to create a sense that your viewer can walk into the picture. If you are on the beach, look for interesting sand patterns to use. Otherwise, look for rocks, boulders, or vegetation that can serve this purpose. Of course, the water and waves will often serve as your foreground. How this looks will depend largely on how you expose the picture, we’ll cover that next.
How to expose your coastal photography
In coastal photography, your exposure controls affect more than just how bright or dark your picture looks. Your exposure controls also affect much more than just depth of field (aperture) or digital noise (ISO). How you expose your picture will also control things like the the subject and mood. That is partially true in other forms of photography, but it is especially true in coastal photography.
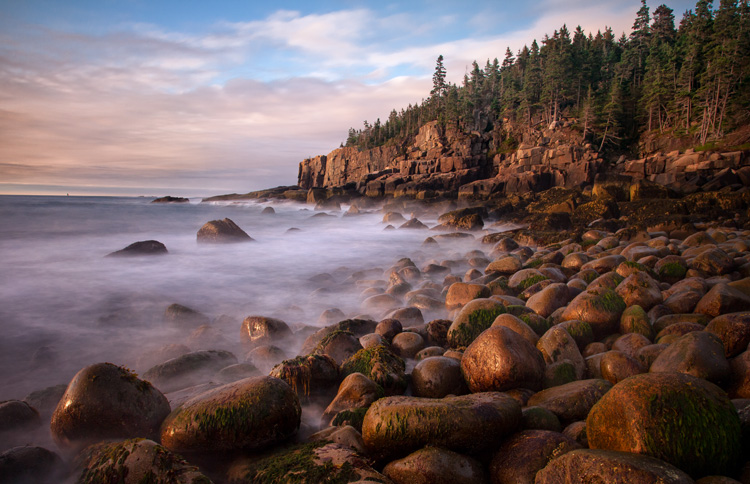
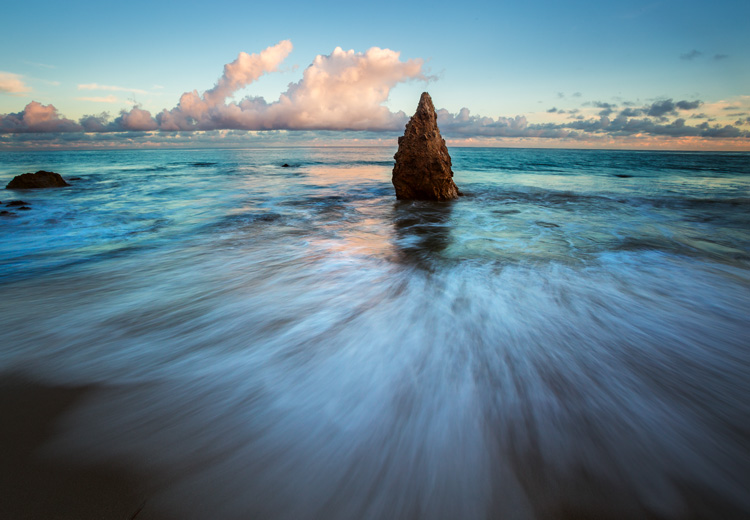
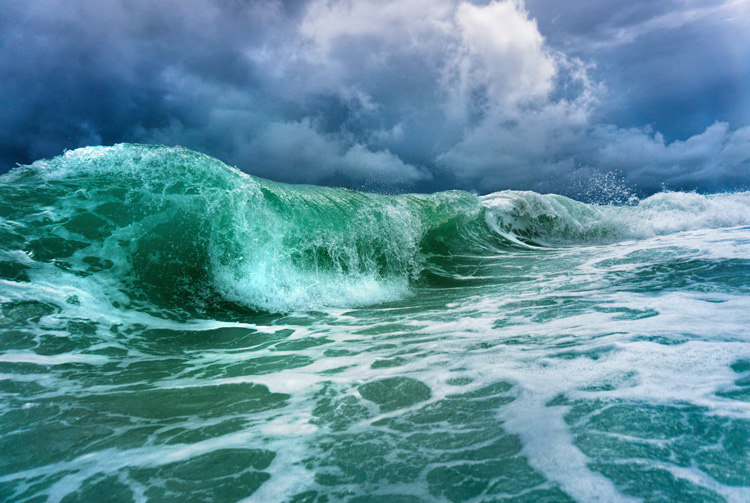
This is because your exposure settings will control how the water and waves appear in your picture. Specifically, how fast or slow you set your shutter speed will change the look of the water. If you want to stress the power and harshness of the sea, use a fast shutter speed (faster than 1/250th of a second). That will stop the action of the moving water. To create a sense of movement, use a slower shutter speed (between 1/8 second and 1 second). For a more serene scene, you can blur out the water entirely by using a very slow shutter speed (longer than 10 seconds). This is just a introduction to this concept, but to see the full range of options, check out this article: 7 Tips to Help Improve Your Seascape Photos by Controlling the Waves.
To go about using these different shutter speeds you can start by making sure you are in Manual mode and moving your aperture and ISO. To use a faster shutter speed, make your aperture a little larger (a smaller f-number) and your ISO a little higher. More often, however, you’ll want to use a slower shutter speed, for which can you should stop down your aperture to a small setting (f/16 – f/22) and use your lowest native ISO (usually ISO 100).
Using the neutral density filter
Frequently, however, there will be too much light to use the slow shutter speed you want. That’s where the neutral density filters come in. When you attach one of these filters to the front of your lens, it will restrict the amount of light allowed into your camera. That will allow you to use a slower shutter speed to achieve a proper exposure (without overexposing your picture).
Let’s make this a little more concrete with some specific numbers. Let’s say you have your shot set up with a correct exposure and you are at 1/50th of a second for your shutter speed, and your aperture is set at f/16 with an ISO of 100. You have a 6-stop neutral density filter in your bag, and you want to use a much slower shutter speed to create some blur in the water. In that case, attach the neutral density filter to your lens and now the amount of light coming into your camera is restricted by 6 stops. If you do nothing else, your picture will be severely underexposed (probably pitch black). This allows you to increase (i.e., slow down) the shutter speed by 6 stops to achieve a proper exposure, and the slow shutter speed desired.
Let’s walk through the process of slowing down the shutter speed by 6 stops, which you will do manually.
- Remember that a stop is a doubling of light, so slowing the shutter speed by the first stop from our starting point of 1/50th of the second will move it to 1/25th of a second.
- After that, moving it another stop will get you to 1/13th of a second.
- Next is 1/6th of a second.
- 4 stops is ? or 0.3 seconds.
- 5 stops is ? of a second
- Finally, slowing the shutter speed by 6 stops will result in a shutter speed of 1.3 seconds.
Take the picture with that shutter speed and your picture should be properly exposed with a nice blur to the water.
Variations
This is just one example, and there are a lot of variations you can do on that. For example, you could use a 10 stop neutral density filter instead. That would allow you to set your shutter speed as slow as 20 seconds in our scenario above. That would really blur out the water. You can also adjust the aperture and ISO to bring the shutter speed in exactly where you want it.
You’ll note in our example above, we could have made our aperture smaller (to f/22 in most lenses) and restricted the amount of light by another stop. Or we could have increased the aperture or the ISO to increase the exposure and use a slightly faster shutter speed. Think of these controls as fine tuning after you have your neutral density filter on your lens.
Getting started with coastal photography conclusion
Hopefully you now have a little better sense of where to go, when to go, and how to set up your shots for coastal photography. Armed with this knowledge, just head to the coast when you can and put these tips to work.
But be careful – the coast can be a harsh and unforgiving environment for both your equipment and for you. That said, I think you’ll find there is no better place to be than on a coast at sunrise or sunset.
The post Tips for Getting Started with Coastal Photography by Jim Hamel appeared first on Digital Photography School.
from Digital Photography School http://digital-photography-school.com/getting-started-coastal-photography/
No comments:
Post a Comment