In this digital age, where we wander about with thousands of digital images held captive in our smart phones, there is something special about printed photographs. They represent something tangible and reverent – something that was worth transforming into an enduring piece of artwork, to remind us of what is important in our lives.
One of the most rewarding aspects of my job is seeing the photographs I create for my clients hanging on their walls. To me, it is the icing on the cake, the cherry on top, the grand finale that tells me I have fulfilled my promise to the people who put their trust in me as a professional.

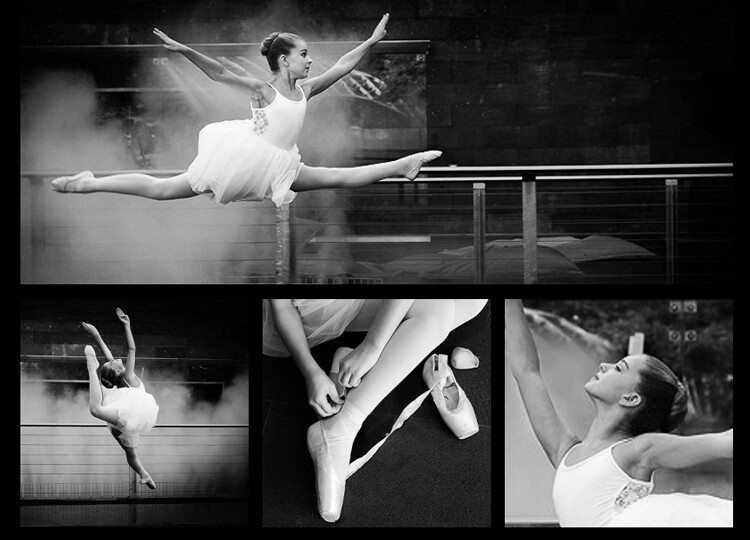
This image set by Darlene Hildebrandt
Like many portrait photographers, I began my career selling digital files on a USB stick. I found it disheartening and unfulfilling. Wall art collections were a revelation to me. As a photographer, they gave me a structure and framework to shoot within. My session times became shorter, because I was shooting with purpose. I now had something meaningful and lasting to offer my clients; collections that tell their story in all its detail, and represent something deep that they have revealed to me.
Photo collections can be about anything. In my case, they are invariably portraits, but if your thing is landscapes, travel, macro, nature etc., you can create collections that add life and personality to you home or office, and serve as visual reminders of what is important to you.
Step #1: Consider the space you want to fill
Think about the photographs you are capturing. What is the subject matter? What do these photos mean to you? Do you want to remember a favourite holiday destination, or how confident your son looks when he plays the violin? Do you want to capture the beauty of a rare flower you grew, or your young adult daughter who is about to leave home for college?
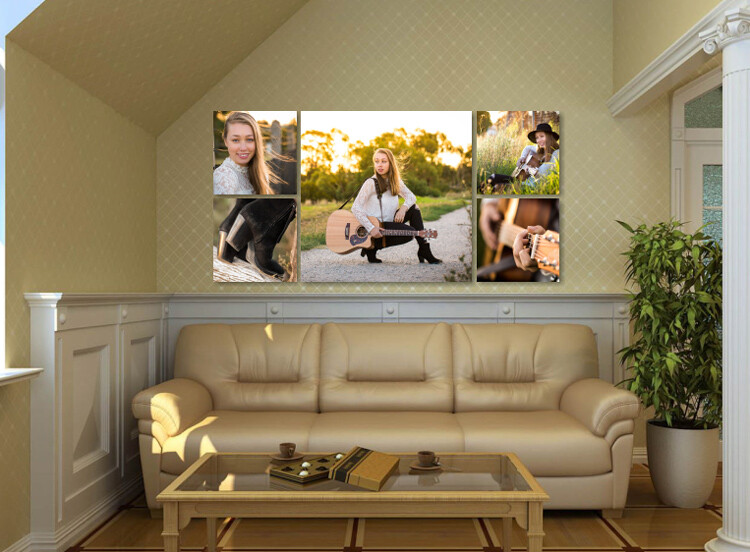
With this in mind, think about where in your home or office you would like to see these photographs every day. Consider how appropriate the subject matter is for where you want to display it, and take into account the style of the decor and other furnishings in the room. Often photographs are displayed above a piece of furniture – above your bed or the sofa, at the end of a breakfast nook, on the wall of a study, or cascading down a flight of stairs.

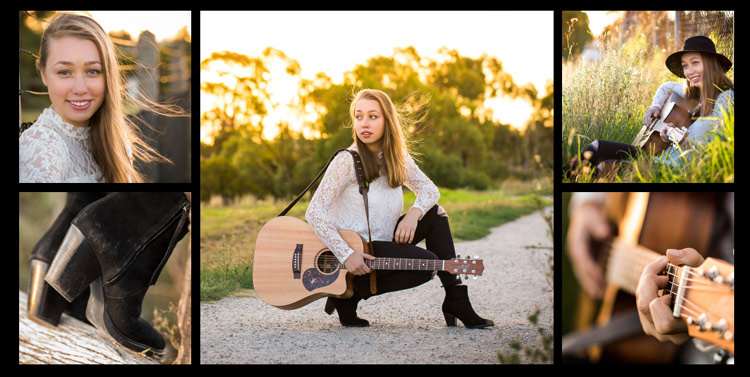
A collection to fit a long, narrow space.
Once you have decided where you want to display your photos, you should have a clear idea of what the layout should look like. Big spaces demand big photos, narrow spaces require long and thin, and a stairwell may need a staggered combination of large and small photos.

A different configuration using images from the same session. This would suit a larger space.
Step #2: Decide the layout before you pick up the camera
Think carefully about the configuration of your collection before you start photographing. For example, if you have a wide space to fill and you envisage a panoramic with two or three smaller prints underneath, your main photo will need lots of space to crop it into a panoramic shape, without compromising the composition or the quality of the image. You will be hard pressed to get a panoramic crop if you’re shooting in a vertical (portrait) orientation. When I’m shooting for a collection, I allow more space around my subjects than usual. This gives me some versatility when it comes to cropping.
Likewise with the smaller prints. Think about how you would like each photo to be oriented, and ensure you shoot from an angle that will enable this. I like to orient my detail shots inward, toward the main photo.

It helps if you know how you are going to display each photo before you capture it.

This shows how the collection would appear on a wall.
Step #3: Keep the lighting consistent
A collection looks most cohesive when the lighting is consistent throughout. If three out of four photos in the collection are high key images with lots of white, a dark photo, or one with lots of colour, will look out of place. So, if you photographed your dog on the beach at sunset, that photo you took of him earlier in the bright midday sun will look mismatched, regardless of how adorable his expression is.
In the photo collections below, the silhouetted sunset image stands out as a mismatch. In the second version, it is replaced with an image that better matches the lighting.

The silhouetted sunset shot in the middle looks out of place.

In this collection, the images are unified by similar lighting.
Step #4: Stick to one subject per collection
Avoid the temptation to create a hodge podge by cramming every member of a family, or every flower in the garden, into one collection. Allow your subject to shine by devoting a whole collection to him, her (or it, in the case of an inanimate object). As a portrait photographer, my collections usually consist of one full body photo, and several detail shots which help tell a story.
The photo collection below, taken at a water temple in Bali, depicts a sacred ritual. I took so many other photos I loved at the water temple, but to put them all together would detract from the story. I will save the other photos for a different collection.

Although it is tempting to cram every photo you love into a collection, the result is much more pleasing when you stick to one subject.

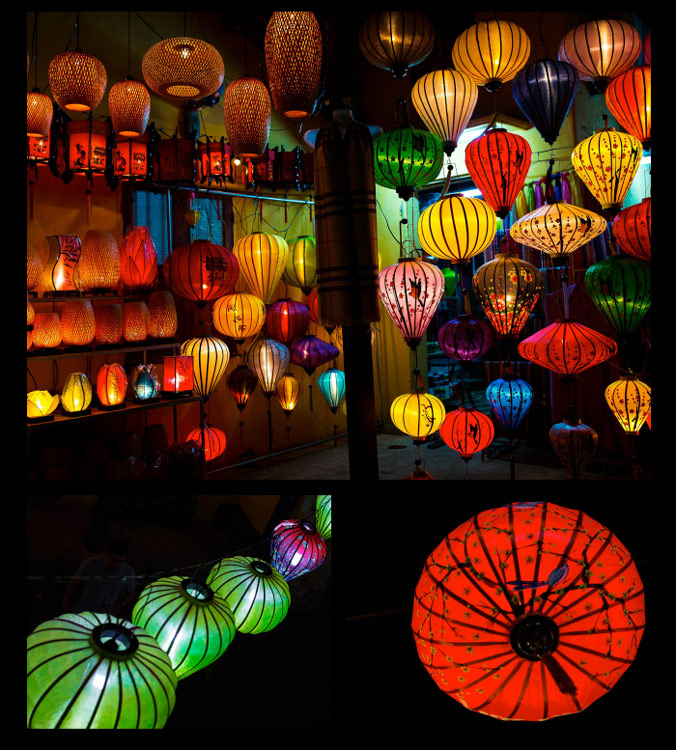
My main photograph in this collection is full of colour and a variety of shapes. To complete the collection, I have chosen closer-up detail shots of just two of the many lanterns.
Step #5: Collage or collection?
A photo collection can be made up of separate pieces displayed together, or you can create a collage to print as a single piece. Your decision will be influenced by the space you want to fill, the material you want to print on, and your budget.
A collection of separate pieces tends to look more luxurious than a collage. With some configurations such as stairs, it may be your only option. Another benefit of printing each piece separately is that you can change the layout later if you want to. Also, if one piece is not working quite the way you imagined, you can swap it out for a new one.
The photos below, taken at dawn on a beach in Vietnam, will be printed as separate pieces and hung together as shown.

Displayed together, the four photos tell a story.
On the flip side, printing multiple pieces can be expensive, and it can be tricky to hang a multi-piece collection with the accuracy it deserves. Some configurations, such as the black and whites below, can look itsy-bitsy when printed separately, and look better printed as a single piece.
You can create hi-res collages like this in Photoshop, Lightroom, or the professional version of Proselect. Alternatively, you can buy ready-to-hang frames with cut-out mats designed for collections, or you can ask a framer to create a customized mat for your frame.
This collage was designed to be hung above a dining table, so the long narrow shape worked well. Background and borders are white to match the colour scheme of my clients’ home, and it is printed on metal to suit their contemporary decor.

This was designed to be printed as a single piece.
Collections and collages are a fun and interesting way to display your favourite images. With a little care and thought, they can make breathtaking displays that will last for a great many years. I hope this article inspires you to go and rescue those beautiful images of yours that are trapped in the digital world, and bring them to life!
Share in the comments section below your favourite photo collections or collages, or any hints or tips you have learned along the way.
The post 5 Steps to Creating a Printed Photo Collection as Wall Art by Karen Quist appeared first on Digital Photography School.
from Digital Photography School http://digital-photography-school.com/5-steps-creating-printed-photo-collection-wall-art/
Thank you so much for this important update information. Sincerest wishes for your wellbeing.
ReplyDeleteI'm also trying to write something new you can check here.
Clipping Path asia
how to remove clothing wrinkles in photoshop
background removal service
transparent background photoshop