The first time I did light painting was by mistake. It was New Year’s Eve, it was cold and dark, my brother was holding a sparkler, and I was playing with my camera.

I was immediately fascinated by the result. Until then, I had always thought of and used photography as a way to capture what I saw. But there was a photo of something ephemeral I hadn’t perceived with my eyes but could see only thanks to the camera.
That was a long time ago, but it’s when I started appreciating the camera not just as a tool to record what I saw, but as an additional sense that could help me see even more. My appreciation of light painting has only grown since then.

What is light painting?
Light painting is a pretty broad term that includes everything from using a light source to illuminate specific parts of a scene, to using the light itself as the main subject.
The light source can be everything from a flashlight or a phone to light panels or headlights or even the moon! Basically, it can be anything that emits light.

The light source in this photo is the moon; instead of moving the light source, I moved the camera.
Light painting is a fun way of taking your photography to the next level. Even if it isn’t something that you think would fit your style of photography, it’s worth trying both for the fun of it and for the things you’re guaranteed to learn about your tools and the art.
In this article, I hope to give you some inspiration and the basic information you need to start experimenting. I’ll be focusing on the kind of light painting where the light itself is the main subject, and specifically on something that might more accurately be described as light scribbling. You’ll see what I mean.

What’s the point?
There is always a point to try something you’re going to learn from, and that you’re going to enjoy doing.
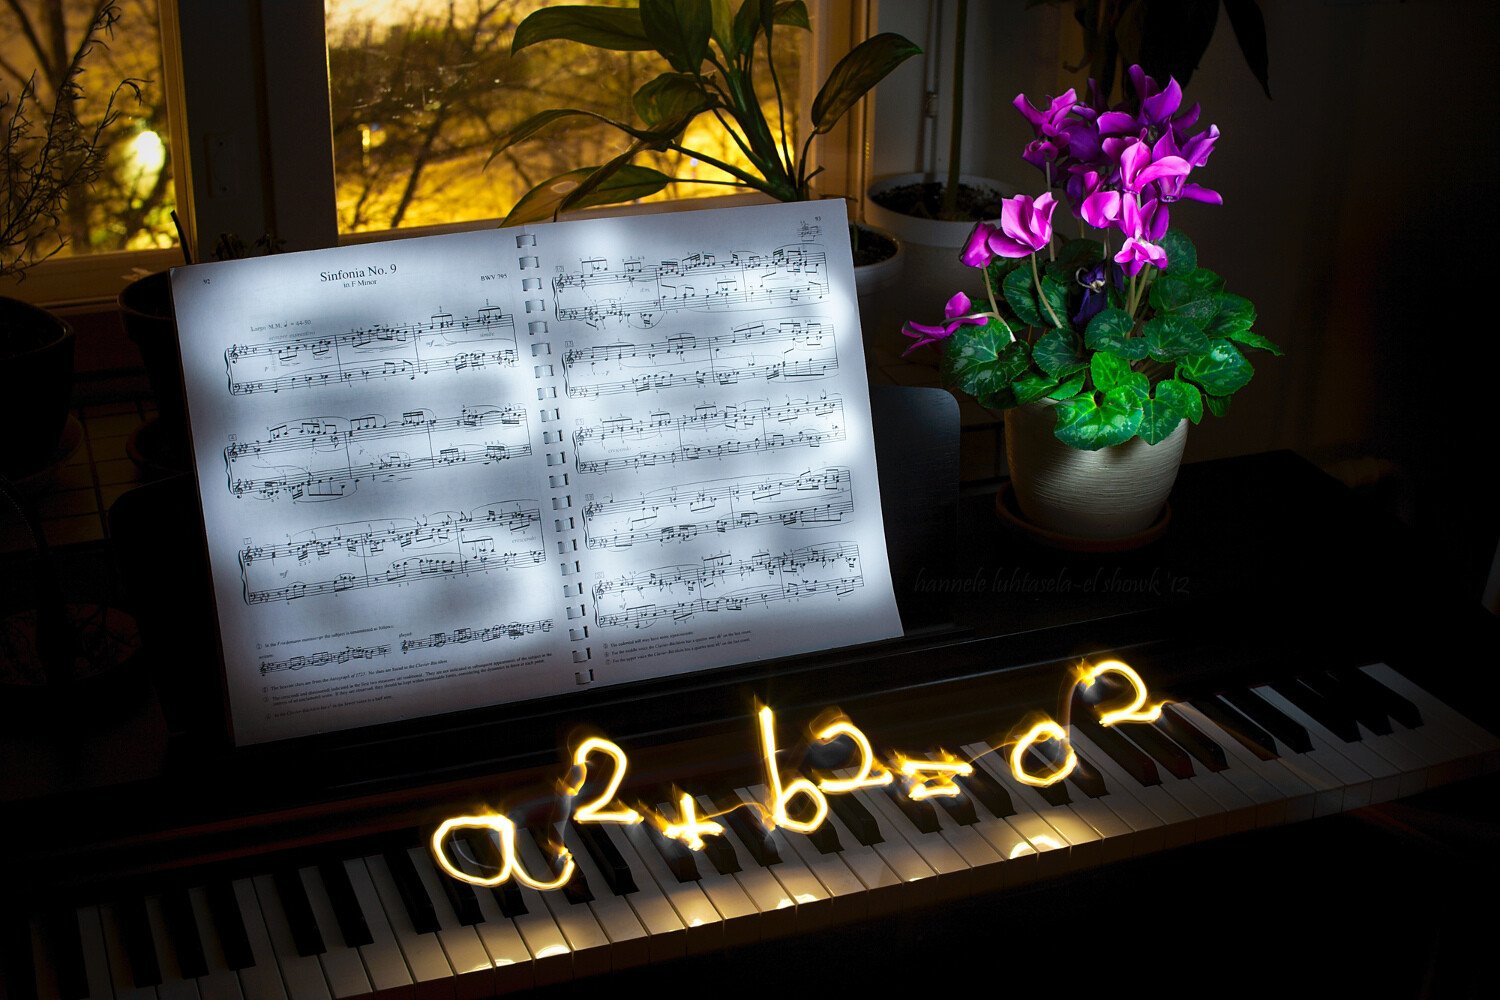
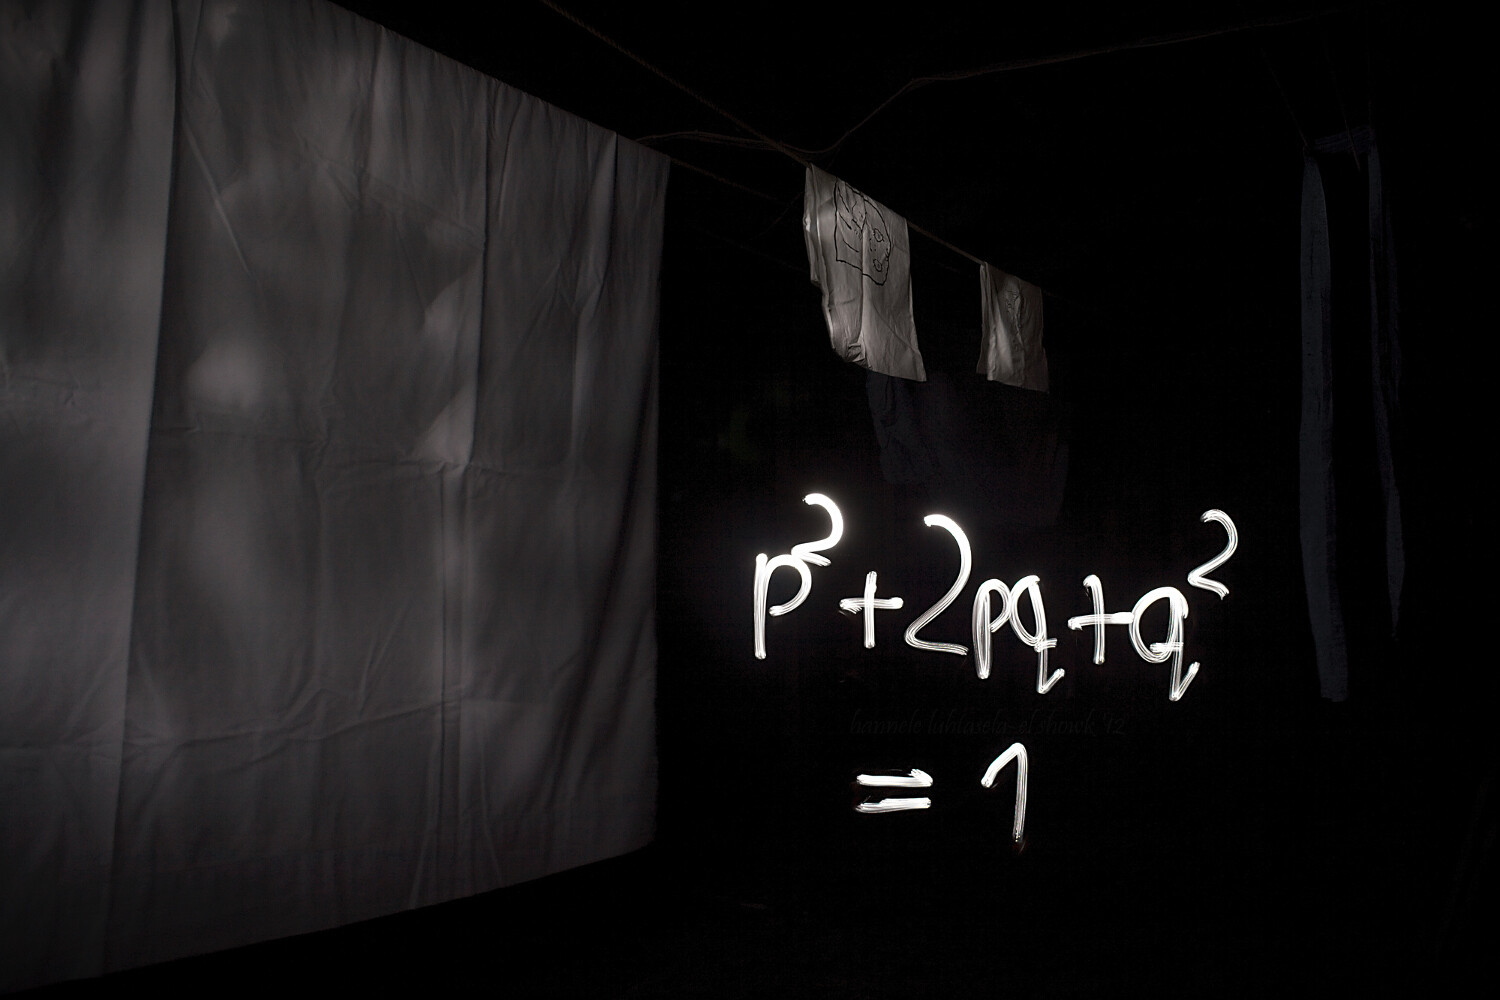
I’m mainly illustrating this article with some light scribbled equations that I made some time ago. What was the point? Geeking out, finding something to do on a dark winter’s night, getting familiar with my new tripod, practicing manual exposure, and getting better at writing backward.
I accomplished most of it.

Doing light painting is indeed a great way to learn about camera modes and settings you might not commonly use. For most kinds of light painting, you’ll need darkness, and darkness brings with it a whole new set of challenges.
You’ll need to do quite long exposures and to find a way to illuminate the parts of the scene you want while avoiding capturing yourself in the picture. You’ll often also need to focus manually and figure out the best exposure for your photo, which can be quite different from that for most other scenes.

A physiogram is made by hanging a light source and photographing its movement.
I’m mostly using light scribbled equations in this article, but the technique can also be used for creative birthday cards, unique wedding portraits, and a non-permanent kind of street art.
Your imagination is the limit!
How complicated is it?
It’s surprisingly easy to get started with light painting or scribbling, and the basic tools are nothing fancy. At its most basic, you’ll need a camera, a tripod, and a mobile light source. That’s all.
To get you started, I’ll be using my equations to explain the process and the tools. Use this as a starting point to extrapolate from and to experiment with to get what you want.

Setup
To get a photo like the one above, you’ll need your camera and a tripod (or a stable surface to keep your camera on), and a dark night. Since it takes a while to write, your shutter speed should be on Bulb, which means that the shutter stays open until you close it.
Making many of these long exposure photos will use up your battery quite quickly, especially if it’s also a bit cold outside, so bring an extra battery or two. You need to change the drive mode to self-timer/remote, so you don’t shake the camera when it starts exposing and to help you with focusing.
Often you don’t need to stress about standing ready to scribble, though. Uou can just walk into the frame after you start the exposure.

Focusing
Focusing takes a bit of effort, but it’s nothing too tricky. The difficulty comes from the darkness of the scene, which means that the camera might have a hard time focusing automatically.
You can focus manually, but what I usually do is let the camera focus automatically. I mark the spot where I’m going to stand to do the scribbling, go to that spot in front of the camera (or ask a helper to do it), turn on my light source and use the remote trigger to take a test shot.
Then, before doing anything else, I turn the focus to manual so the camera doesn’t start focusing again when I want to take the real photo. This way the camera will stay focused on the spot you chose, as long as you don’t touch the lens.

After that, all that’s left to do is the scribbling!
Make sure to wear something dark if you don’t want to be visible in your photo. For writing, you want a light source, such as a flashlight, that can be easily turned off and on. This way, you can make separate symbols without too much effort.
Before you open the shutter and start taking the photo, think about what you’re doing. If you’re writing something, practice the motion you want to do in the air so you get a feel for it. Then start taking the photo, scribble, draw, paint or do whatever it is you want to with your light, and stop the exposure.
It will probably take a few tries to get it right, so be patient and enjoy the process. You’ll definitely be creating something unique.
NOTE: You don’t necessarily need to write backward. If there is nothing else in the scene with words you can simply flip the image later on the computer.

In this one, the boat worked as a canvas: instead of drawing in the air I could draw straight onto the boat.
Conclusion
Drawing or painting with light is a really fun and rewarding exercise that requires some patience, but not much else.
I’d love to see your photos of light painting and scribbling and hear your thoughts in the comments below.
The post How to do Light Painting and Illuminate Your Photography appeared first on Digital Photography School.
from Digital Photography School https://digital-photography-school.com/how-light-painting-illuminate-your-photography/
No comments:
Post a Comment