Landscape photography is something that most photographers do. You may be a beginner or an advanced landscape photographer, you may have your own style, or you prefer certain subjects, but there’s always room for something more, something different.
This article is meant to show you five ways in which you can experiment with landscape photography. The techniques will force you to think differently about the surrounding landscape and will uncover new potential shots in places or situations where you might not have considered even getting your camera out.
Let’s see what these five landscape photography hacks that will up your game:
#1 – Long exposures in unusual places
When you think about long exposures you may be thinking of water flow, night photography, or everything that is in low light. The thing is, you can do a long exposure on anything that moves or changes over time. If something is still, then there is no point of doing this technique.
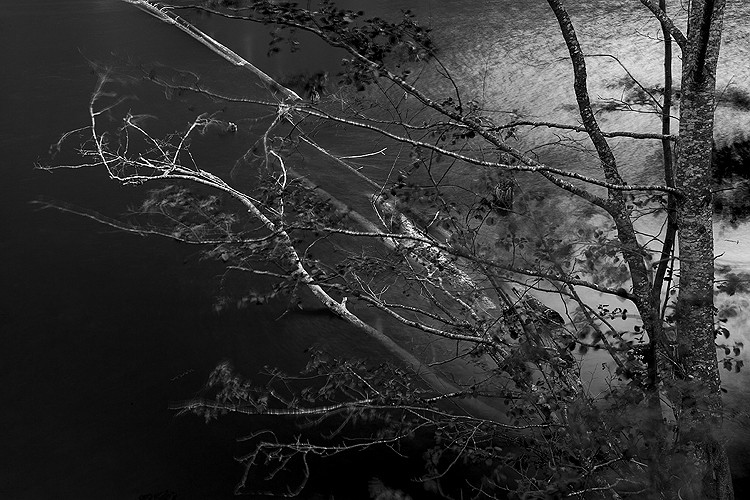
Sometimes you’ll need a Neutral Density filter of 6-stop or maybe even 10-stops if you want to do this during the day when the light is bright. In this case, you would need an ND to dim it down. The idea is to seek subjects that are moved by the wind for example; it works better if some elements of are still and some are moving. Maybe leaves or some thinner branches are moving and the thicker tree trunk is still.


Place your camera on the tripod, use the ND filter if necessary, and take the shot. You’ll get a simple, yet powerful image that represents not only a glimpse of time but few seconds. You can also try this with crops blown by the wind.
#2 – Move your camera while shooting
You usually try to stay still when you shoot so that’s why, as a landscape photographer, you use a tripod. But sometimes it’s interesting to bend the rules and see what the unexpected offers. You can try and move the camera while shooting. Move it from up to down or maybe you can rotate it slightly while the shutter is pressed.
This technique will produce more of an impression of what you see and certain movements work better with certain types of subjects; for example, move your camera up and down if you have straight tall trees. It also helps to have an exposure time of about one second.


#3 – Zoom your lens
Another element that usually stays the same while you press the trigger is the focal length. But what would happen if you changed it during the exposure? Of course, it helps a lot if you have longer exposure time so that you’ll have time to actually zoom.
You have two options with this technique. You can just zoom in or out and you get an interesting effect like everything is “running” to the edges of the photo.

Or you can first zoom your lens in all the way and hold the zoom ring. While you press the shutter button keep the zoom ring fixed and rotate the camera so that the lens zooms out. Don’t forget to keep the hand that is holding the zoom ring still; you are actually zooming out by moving the camera. You’ll get a twisted effect that I find it works better on pines or similar trees.


#4 – Use graduated filters in unusual ways
As a landscape photographer, you likely know how to use graduated ND filters to balance the brightness of the sky with the foreground, but you can do so much more with them too.
In the old days, photographers used to dodge and burn certain areas of a photo to lighten or darken those spots. The technique is still used today in post-processing.
But what if you could do this right in the camera using two graduated ND filters to darken the margins of an image. You only need to place the grad ND filters at a 90-degree angle, one facing left and the other facing right. You don’t even need to have the same filters; you can use a 2-stop and a 3-stop, for example. This will create a light beam effect.

#5 – Create Cinemagraphs
Cinemagraphs are the new thing, and they look cool. You may be wondering what is a Cinemagraph? Well, it’s a combination of still photography and video. The result is a video, but because of this combination, I included this idea here. Here’s an example of what they look like:
In short, the technique requires you to record a video, preferably with the camera on a tripod, freeze one of the frames and make it a photo, and then creating a mask that reveals only one element that moves. It looks better if you make the video loop-able but that is not absolutely necessary. The effect plays with your mind because everything is still apart from one element that moves.
Conclusion
I hope you’ll find these ideas interesting and you’ll use them to open new horizons and explore new techniques. I think experimenting plays a big part in photography and landscape photography is no exception.
Share your landscape tricks and tips in the comments below.
The post 5 Hacks and Tricks to up your Landscape Photography Game by Toma Bonciu appeared first on Digital Photography School.
from Digital Photography School https://digital-photography-school.com/5-hacks-tricks-landscape-photography/
No comments:
Post a Comment