Using a speedlight at weddings and events take me back down memory lane to my very first paid wedding. I had the most basic digital camera, my trusty Nikon D40, the 18-55mm kit lens, a telephoto I bought separately 55-200mm f/4-5.6, and a 50mm 1.8D. What did I know about weddings? Hardly anything technical for sure but I had bags of creativity which got me hired. We have to start somewhere. But before anyone judges me at touting my wedding photography as a professional, well I wasn’t. I was recommended to someone looking for a wedding photographer. I didn’t have a portfolio, so the person who recommended me took some of my family photos to show her friend.
What did I know about weddings? Hardly anything technical for sure, but I had bags of creativity which got me hired. We have to start somewhere. But before anyone judges me at touting my wedding photography as a professional, well I wasn’t. I was recommended to someone looking for a wedding photographer. I didn’t have a portfolio, so the person who recommended me took some of my family photos to show her friend.
My first speedlight
Up until then, I had only photographed friends’ weddings because I enjoyed them and they gave me some practice other than photographing my own kids as well as other families. So this was my first paid venture outside family photography. But, even as a super wedding novice, I knew I needed a speedlight (flash gun) and dared not go without one. I also borrowed a backup camera just in case.
I bought the super affordable Nikon SB-400, a nifty little speedlight that fits in your pocket with a head that can be tilted overhead (and only that) for bouncing light. It was better than not having a speedlight at all. I was ready to roll, or so I thought.
Research the venue ahead of time
On realizing that the venue had a very high ceiling, totally unreachable for light to be bounced back, and with beams spanning the walls, I was stumped. There was no way I could bounce the light as my little SB-400 didn’t swivel sideways to be bounced off the walls. Fortunately, I found this out when researching the venue, not during the wedding day. I McGyvered my speedlight by strapping a white foam card behind it so it bounced the light somewhat in a forward direction. DIY yes, but it did the job, plus I have always hated direct flash anyway so for me, bouncing was the only way ahead at that time.
I McGyvered my speedlight by strapping a white foam card behind it so that it bounced the light in a somewhat forward direction. DIY yes, but it did the job. I have always hated direct flash anyway, so for me, bouncing was the only way ahead at that time.
Please the clients
To cut the long story short, I shot the wedding and the newlyweds were happy with the results. There were times when the flash was not strong enough in the dark venue but I was able to improve the photos somewhat through Photoshop. Thankfully, that was many years ago. Looking back at those photos now makes me realize how much I didn’t know and how much I’ve learned. The pictures were creative definitely, but technically they were cringe-worthy! Too heavy Photoshop actions were used, too much styling like desaturation or oversaturation, missed focus, overexposure, underexposure, I could go on and on. I tried to leverage my creativity to hide the fact that I was technically weak.
The newlyweds loved them and even ordered albums and a canvas! Luckily for them, I had no idea how to price my wedding services so I sold the products to them at cost, not even charging for the time it took me to make the albums! I mean, what sane professional would do that?
So I started on a journey that would make me realize just how much technical knowledge and physical work a wedding requires and how we have to learn to price accordingly or live in a perpetual grudge against the business and face an abyss that is the loss of any self-worth.
Here are three ways you can use a speedlight at events or wedding receptions
Moving on, this article is all about how I use speedlights at wedding receptions and events now, and some tips for you to do so as well. Thankfully, I now have an arsenal of professional gear that I am confident enough in using and know what to expect from. I have also stopped relying on Photoshop and instead try to get my exposures correct in camera, even with the use of external lighting, the ratio calculations of which I still find super confusing, if I’m being honest!
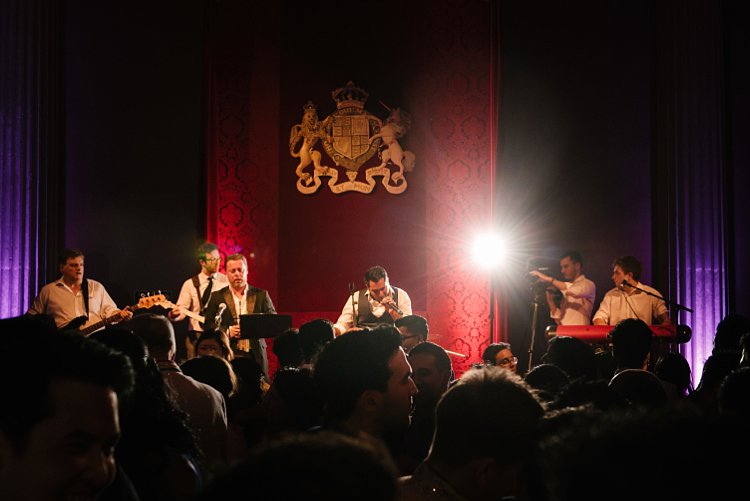
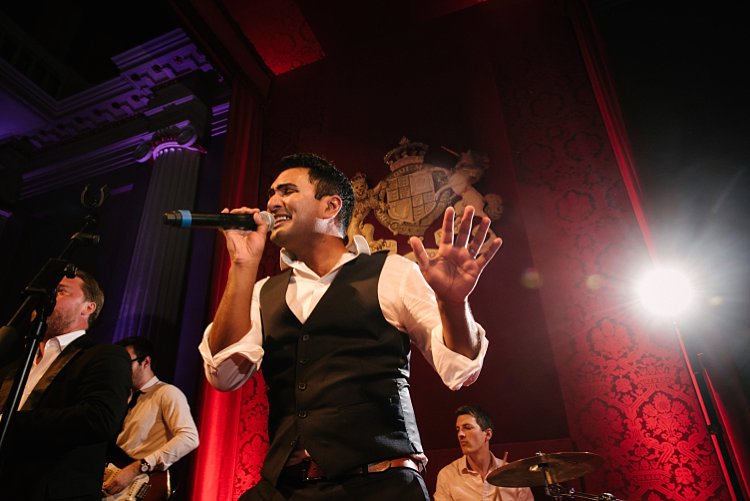
#1 – On-camera speedlight
On a wedding day, I prefer not to use a speedlight during the ceremony but at all other times, I pretty much have it sitting on my camera just in case I need a bit of fill light. I now have the Nikon SB-900 / SB-910 speedlights as well, which can be swiveled at all angles, not just upwards, therefore I can bounce the light anywhere needed.
I always use an on-camera speedlight for all my group portraits as they usually happen while there is still natural light outside and I only need a fill light. After the wedding ceremony and portraits, the reception typically starts with welcome drinks and canapes awaiting the newlyweds’ arrival. It’s at this time that I photograph guests as well as details like flowers, the cake, and room decorations.
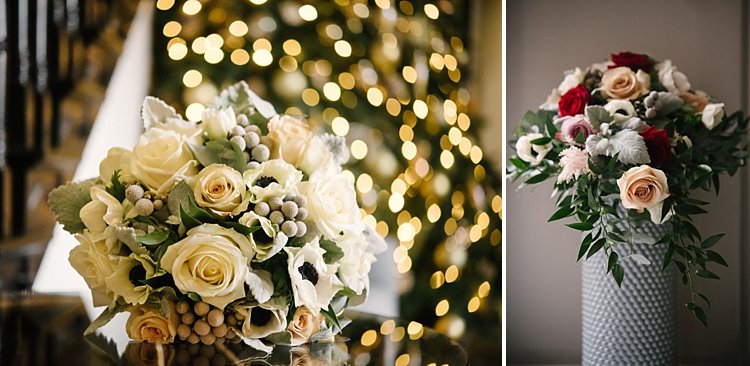
Shooting candids
I always have my speedlight on for this bit as I go around the room photographing guests mingling and chatting. My flash head is always angled slightly sideways at 45 degrees to get a directional bounce. If the area is pretty dark with no light coming from windows, I may bounce the light upwards to create a more even spread of light. There is a caveat to this one, however, in that there is a greater chance of deep shadows under the eyes and chins.
If there is ample light everywhere but I still feel I need a bit of a fill for the face, I would point my flash head backward. The only time I would point my flash head straight at the face/subject is when the scene is completely backlit unless I am after a silhouette. So yes, there’s a lot of swiveling and adjusting to the flash head but it is worth the effort.

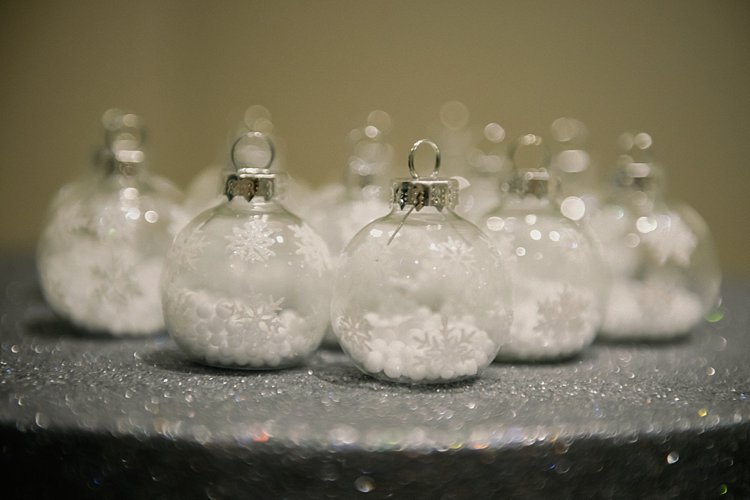
The only thing you really need to remember is to NOT have the flash pointing downwards. This can be done so easily and unintentionally when you change the orientation of your camera from landscape (shooting horizontal) where the flash is currently pointed at a sideways angle to portrait (vertical) where the flash head would then be pointing to the floor. That is an absolute no-no as you would get “horror lighting” in that case. You know, the suspense-thriller lighting where flashlights are pointed from under peoples’ noses and you get dark heavy shadows pointing upwards (growing by the minute waiting to devour the photographer). We don’t want that kind of lighting in wedding photography!
#2 – Off-camera speedlight
At weddings, I typically carry 3-4 speedlights with me, and 4-6 transceivers. Tranceivers or transmitters/receivers are devices that allow you to remotely trigger your flash without it being attached to your camera. It works using radio waves so that you (and your camera) can be quite far from the flash. You can even have people or a wall directly between your camera and the flash and you can still trigger it. You usually need to have two devices; a transmitter that is attached to your camera, and a receiver that is attached to the flash. Nowadays, transceivers are more popular because they can do both, transmit and receive, so it doesn’t matter which one you put on the flash or camera as these devices will do the job.
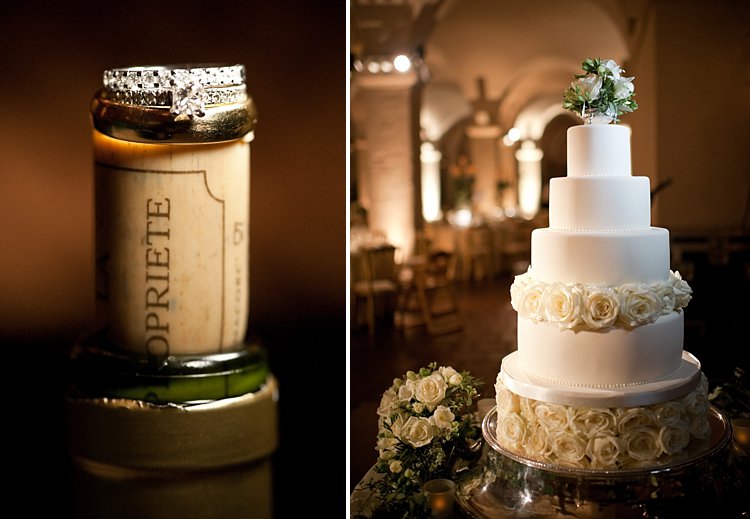
There are two fantastic things about these transceivers in my opinion. First, you can trigger as many speedlights as you want as long as they each have a transceiver attached to them. The second thing, which has been a game changer for me, is the fact that I can put a transceiver on the hotshoe of my camera and then put a flashgun on top of it. That allows me to shoot with an off-camera flash to the right of my subject and if I need a fill light from the front, the speedlight sitting on my camera on top of the transceiver does the job. It’s totally awesome!
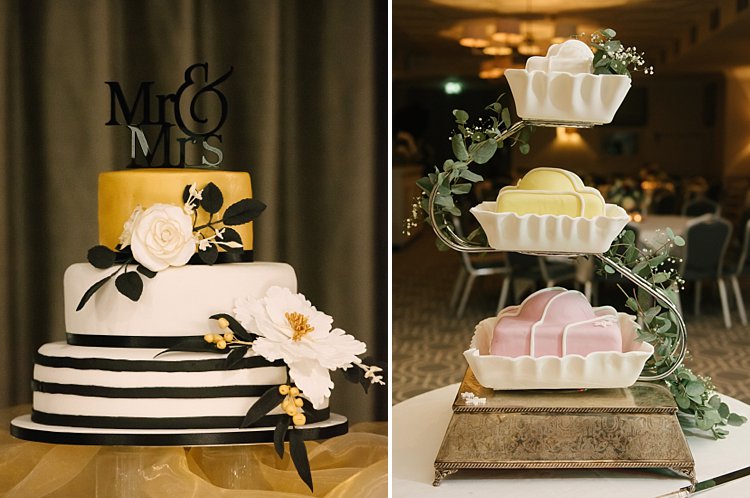
Great for detail shots
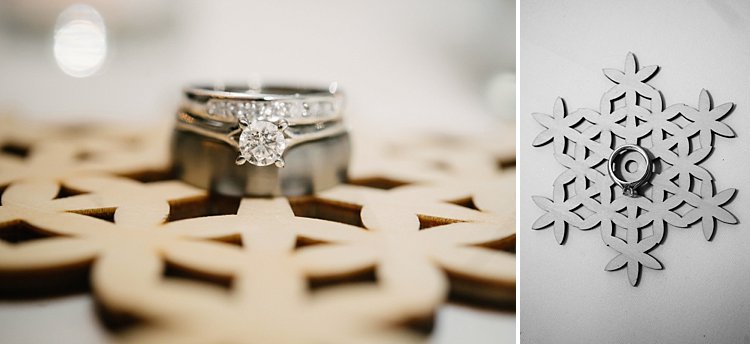
I do this a lot for details, rings shots, room shots, cakes, flowers, etc. It’s like having an assistant attached to me without having to tell them where to go and what to do. Before these transceivers, what was available was a bracket arm attached to the hot shoe of the camera and your flash sat on the end of the bracket arm. The advantage of this is that you didn’t have direct light hitting your subject, but one that was just slightly off on the side. However, with the amazing bounce capability of the flashes now, you can maneuver the light in more ways than in the past.

With an assistant
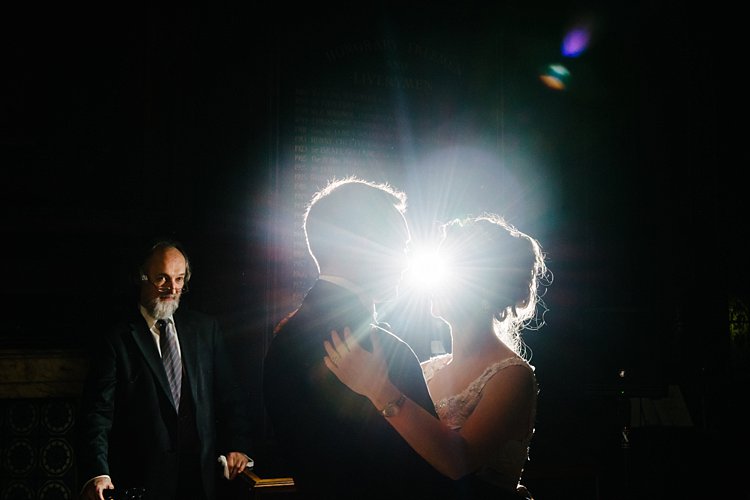
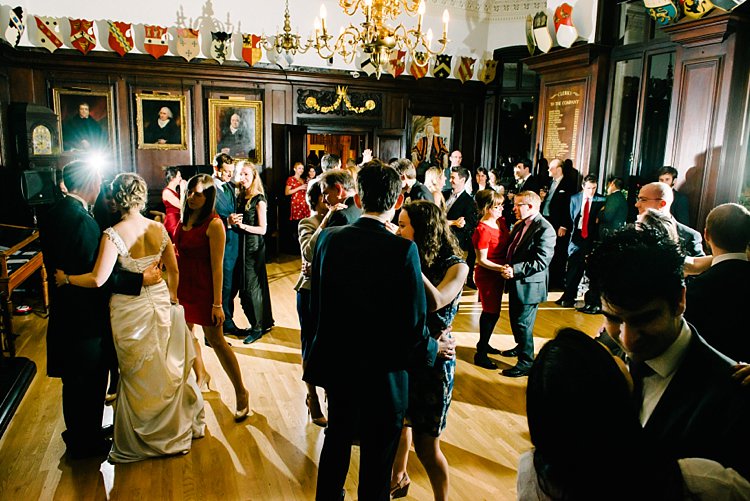
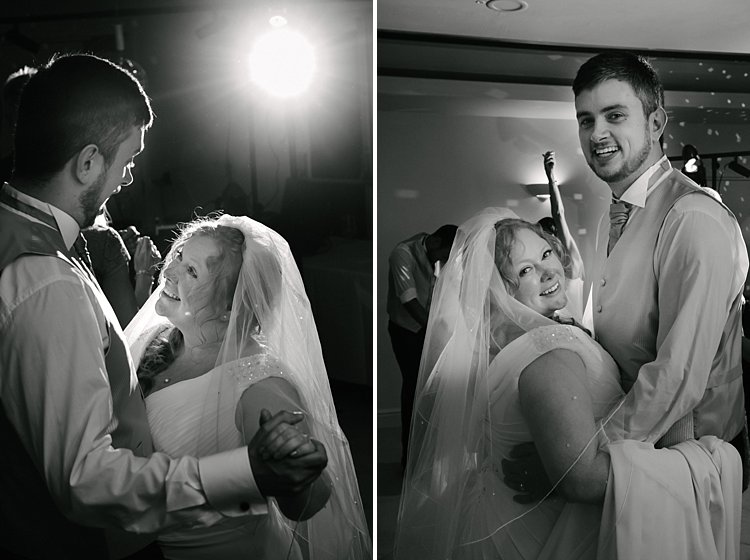
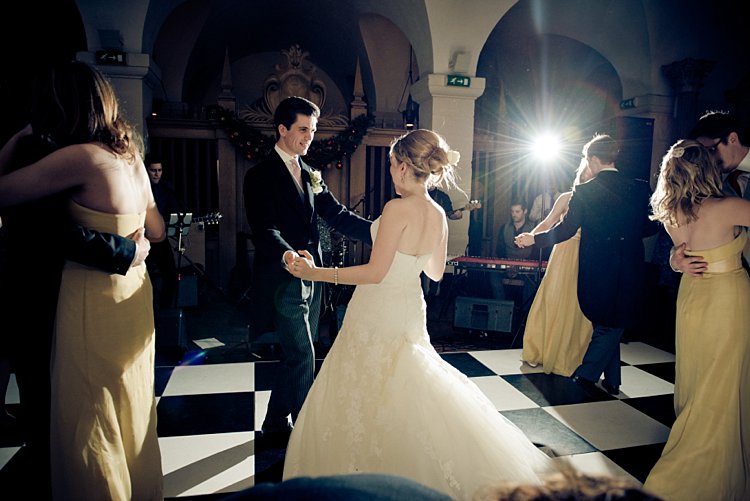
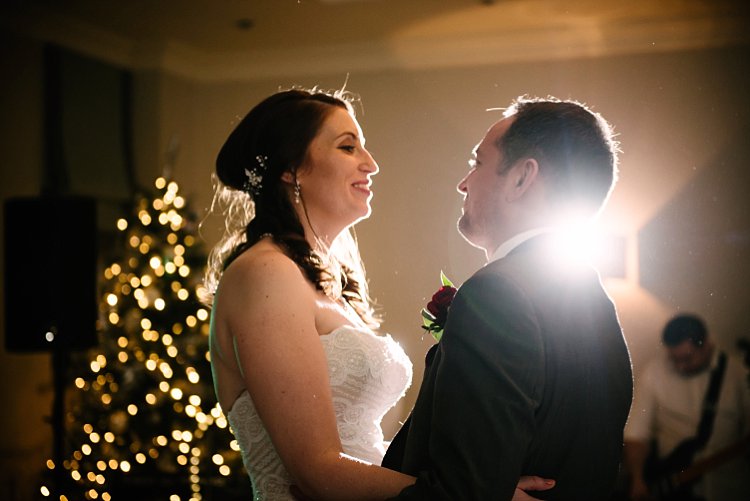
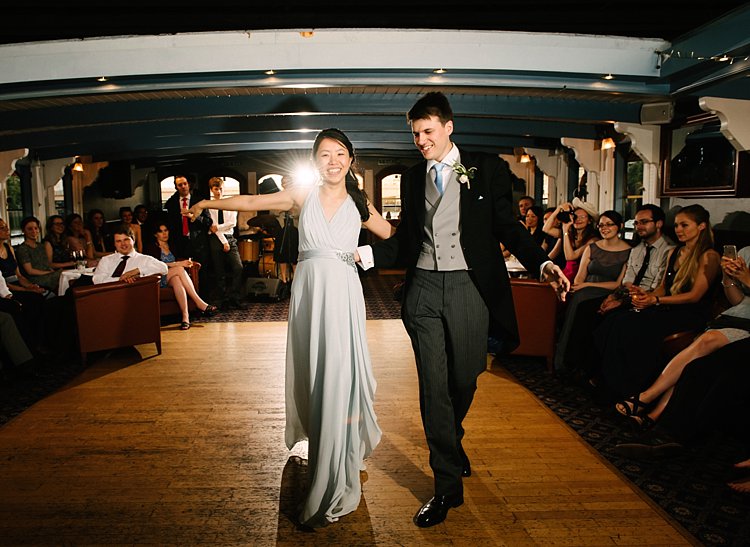
I lean towards more dramatic photos, so if I have an assistant or a second shooter, I personally prefer that they hold the second off-camera flash at an arm’s length away from me (much like the bracket arm but slightly further away) especially when I’m shooting the first dance.
I always have at least two lights, a kicker light which is bare bulb (no diffusion) pointing at a 90-degree angle at the newlyweds creating a backlight, and another light held by my assistant to the side for some directional fill. Sometimes I do away with this side light though when shooting a silhouette or if I want a dramatic rim light. I like having light and shadows in my reception pictures especially when the shadows fall in the right places.
Speeches
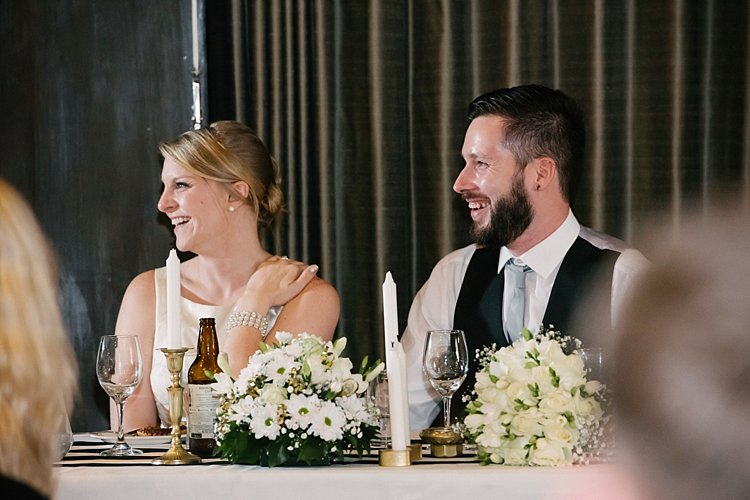
During speeches, I tend to have one off-camera light positioned on a stand somewhere at a distance, either with an umbrella or bounced, to provide directional light. I also have a speedlight on my camera for fill but only use it when I feel it’s needed, and not for all shots. However, if I have three or four speedlights at various parts of the room for off-camera lighting, I don’t usually bother with any fill light from my camera. I would just position myself in relation to the off-camera lights to get the best directional light for my subject.
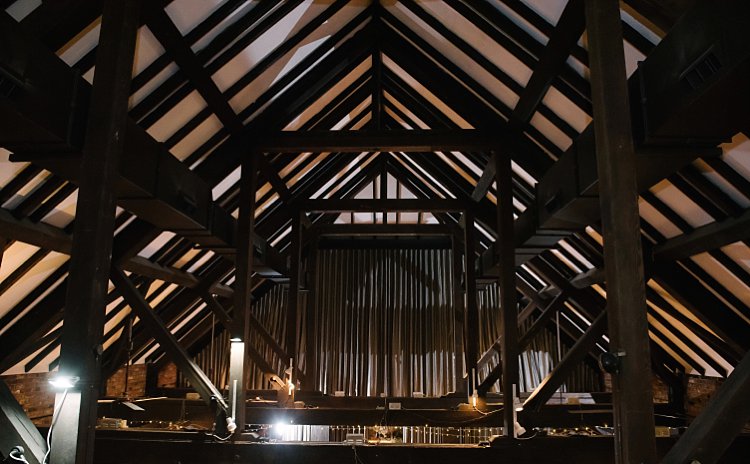
The examples directly below show where I placed two speedlights on opposite sides of the room. This was because the venue had decided to put the couple at the back next to the cake where there was no light at all. You can see on the photo of the beams where the lights have been placed, one to camera-left directly in line with where the couple was sitting, and one on camera-right angled slightly at about 45 degrees towards me to light the cake and provide fill light for the couple.
Sparklers
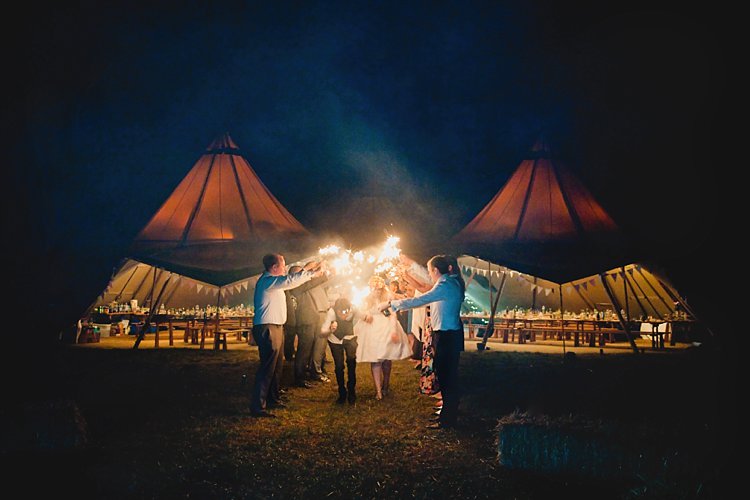
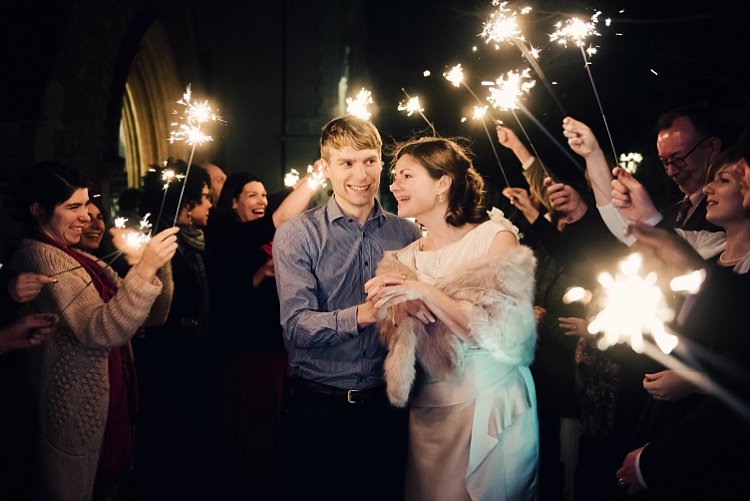
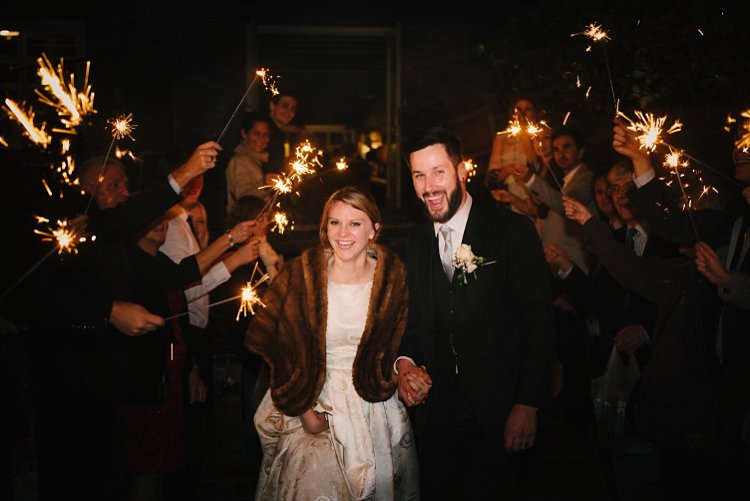
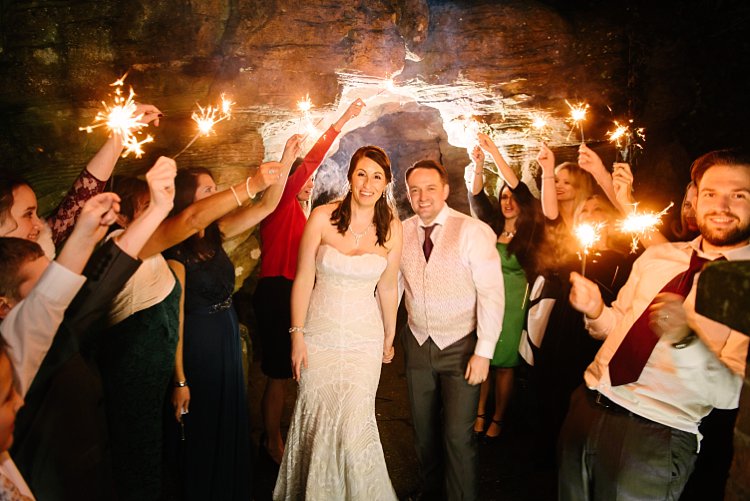
Sparkler shots are tricky as it depends on the location, space, season, and so on. I have done sparkler shots in all manners; with just a speedlight on-camera both bounced up and angled forwards, an assistant holding a light from the side, a diffused speedlight positioned at 90-degrees, a kicker light behind with a speedlight on my camera for fill, and a shot with no light at all because the flash didn’t recycle in time but it was the best photo of the couple where both looked lovely (no blinkers or funny expressions).
No matter how prepared you are, in wedding photography, you have to be ready for the unexpected. The main thing to remember, which in the speed and flurry of events I admit that I sometimes forget myself, is to keep the shutter speed at a fairly low setting to let in more ambient light. The sparks and smokey ambiance from the sparklers bring in that subtle and dreamy lighting look.
#3 – Dragging the shutter
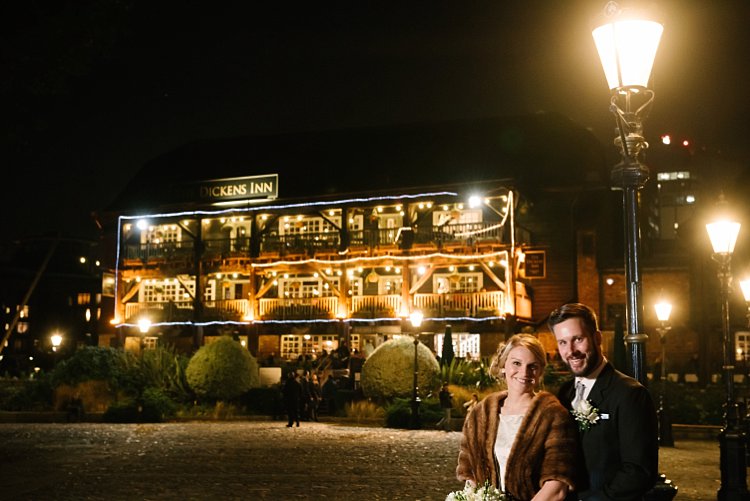
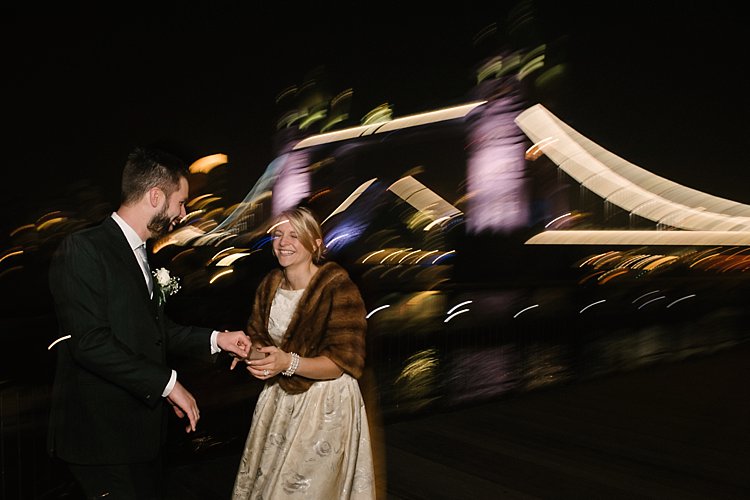
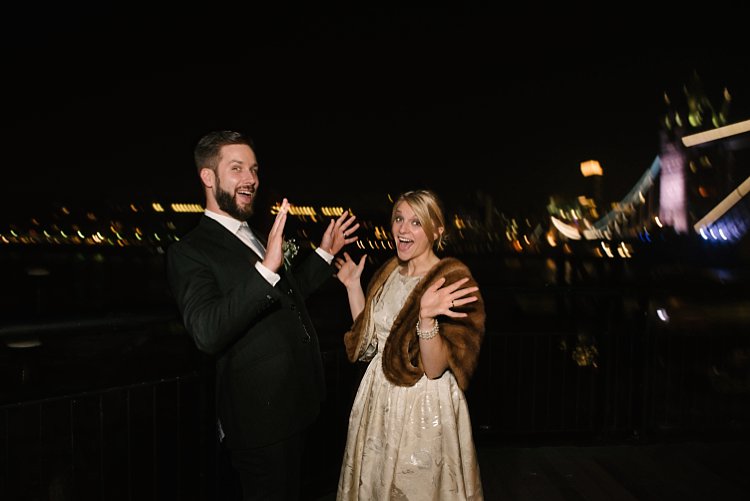
Dragging the shutter is a technique where you shoot at a very low shutter speed, say 1/10th of a second, to capture the ambient light but have your flash pointing directly at the subject to freeze their motion. While the shutter is open, you also must make exaggerated movements with the camera to get the funky motion of the lights in the background. This is especially necessary if the lights in the background aren’t moving so you have to compensate by making the motion yourself as opposed to shooting car light trails in the background where the cars are traveling at high speed and therefore the head lights trails are captured in motion.
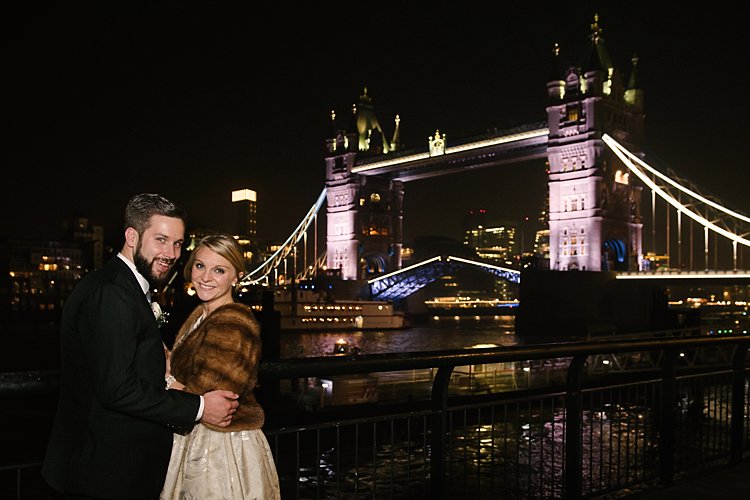
The flash firing at a single point will keep the subject sharp so you don’t need to worry about blurry faces. This works well in a very dark room or space with dramatic background lighting like fairy lights, illuminated architecture such as the Tower Bridge in London, funky DJ lighting, or disco ball reflections and suchlike.
Conclusion
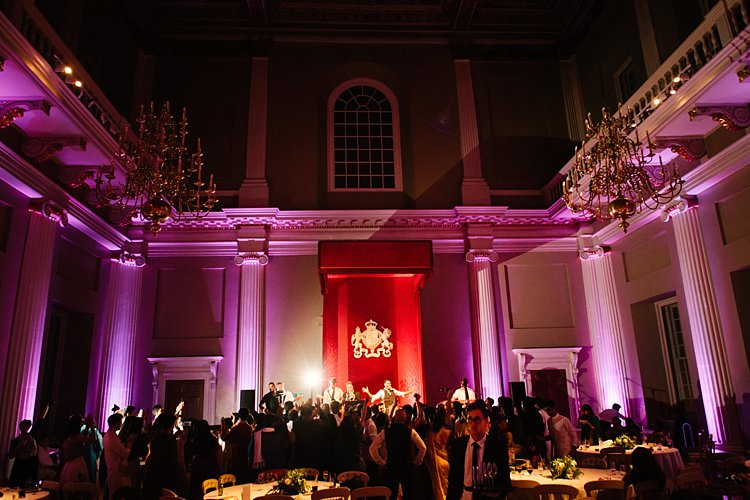
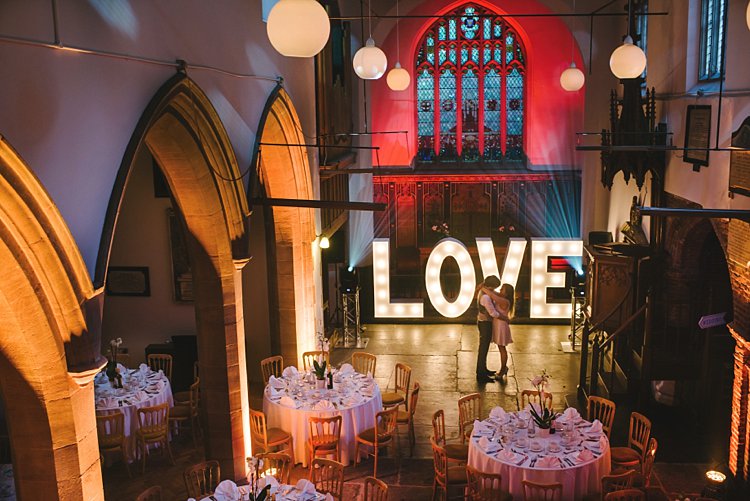
I have shown quite a few examples above of various instances I have used on and off-camera lighting using speedlights. If you look closely, I think you would be able to tell easily what type of lighting combination I have used on each of the photos, whether that included off-camera lighting or a combination of everything, as well as the number of speedlights used.
I have also referred to my learning journey as a photographer and I know there is still so much to learn; I am only touching the tip of the iceberg. If you have more tips and examples, do share them in the comments below.
The post How to Use a Speedlight at Wedding Receptions and Events by Lily Sawyer appeared first on Digital Photography School.
from Digital Photography School https://digital-photography-school.com/speedlight-wedding-receptions-events/
No comments:
Post a Comment