After one full year using the Sony mirrorless system for my professional work, I believe I can give a very honest and helpful review of the system that can help others decide if it’s right for them.
Here are the top 5 pros and cons of the Sony system after one year:

The Pros
1. Electronic Viewfinder
If you asked me what my favorite thing is about my Sony mirrorless camera, it would be the electronic viewfinder.
Being able to preview the final image before I take it has not only made my work more consistent, it has naturally allowed me to stop “chimping” as much as I did when I shot with my Canon 5D Mark III. Reviewing images in bright sunlight has also never been easier, since I can do that in the viewfinder.
2. Image Stabilization
Sony offers 5-axis in-body stabilization in its newest camera bodies that is very useful, especially for a hybrid photographer like myself.
This feature allows me to use any lens (like a fast prime) and give it stabilization—including any lens you can attach with an adaptor. There are two ways I benefit from IBIS: being able to get sharp images at slower shutter speeds, and the ability to get good handheld video footage with any lens
3. Eye Autofocus
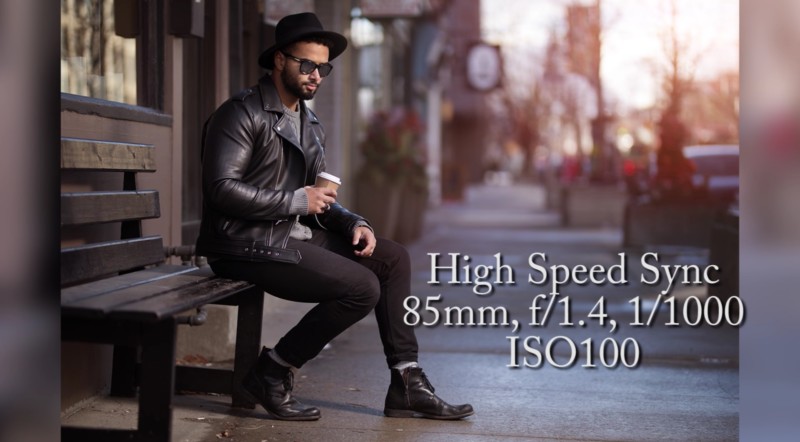
Say goodbye to blurry portraits! The continuous eye autofocus feature allows me to get tack-sharp focus on the model’s eye at the push of a button. In good light, it is very accurate and consistent. In low light, it doesn’t work well and reverts back to facial recognition.
With this feature, there is no need to focus and recompose or keep adjusting your focus point—it places a little green box around your model’s eye and it will continuously track it as he or she poses and moves around. As someone who likes to shoot at wide open apertures, this is a must-have feature.
4. Size
There is no question that one of the biggest reasons why photographers move to mirrorless in general or Sony specifically is for the smaller form factor.
It seems the “professional” lenses are, the larger and larger they get. That said, it is your choice if you want to use the larger lenses. There are a decent number of smaller primes that the Sony system offers that keep the kit small and compact without sacrificing image quality, like the 55mm f/1.8.
5. Image Quality
Not only are these cameras feature-packed, they offer tremendously good image quality. Coming from the Canon system, I can say without a doubt that the Sony sensor trumps the Canon sensor when it comes to dynamic range and shadow recovery.
The full-frame A7RII and crop sensor A6500 gives me unreal resolution, dynamic range, and sharpness that I’m extremely happy with, and has allowed me to get the most out of my photos.
The Cons
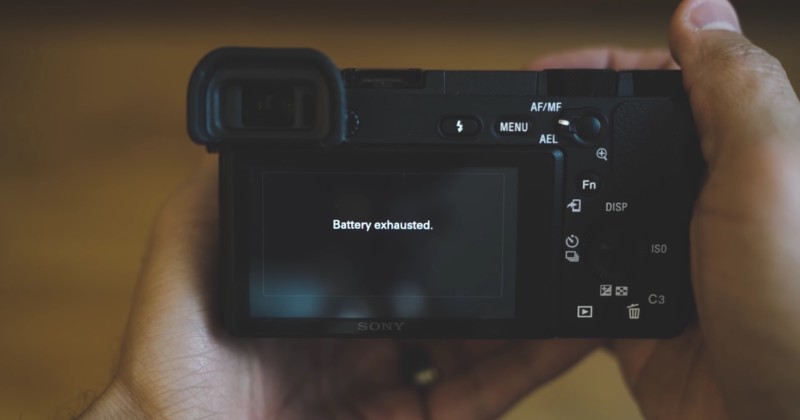
1. Battery Life
This shouldn’t come as a surprise to anyone, but the battery life on Sony cameras is almost offensive when comparing to a DSLR.
Owning over 7 batteries has allowed me to never run out of juice while shooting a wedding or photoshoot, but having to always be aware of the battery life can be annoying. Charging the batteries every night can also become a nuisance, so make sure you own multiple battery chargers as well.
2. Start-Up Lag
This lag that I speak of really became a problem when I was photographing weddings. When the camera would fall asleep, it would take at least 3 seconds to wake up and be ready to take a photograph. I missed many spontaneous moments because of this lag and I have to say, I really hope Sony can address this.
It also forces you to strategically replace your batteries when shooting an event, because the camera will take around 7 seconds to take a photograph after replacing its battery!
3. Only 1 SD Card Slot
This is one of the big reasons why a lot of pro photographers haven’t switched to Sony yet. As a Wedding photographer, I really like the peace of mind of having a backup of my images just in case an SD card goes bad.
I think (read: hope) it’s only a matter of time until Sony begins to implement dual SD slots into their more professional line of cameras.
4. Low Light Autofocus
Coming from the 5D Mark III, I was really accustomed to having great low-light autofocus. When I began using my first full-frame Sony camera (the A7II) I couldn’t believe how inconsistent it was focusing in low light.
I began to change my shooting style, aiming for “contrasty” edges on my subjects so I could acquire focus. This is improved on the Sony A7R II and A6500 cameras, but it still isn’t up to par with my old Canon system.
5. Lack of Budget Lenses
There is no question that moving to Sony is a very expensive switch. For those who will be starting out with a Sony a6000/a6500, there aren’t many native lenses that are budget-friendly. Sony needs more lenses within the $600 range for both the full-frame and APSC lineup.
The 85mm f/1.8 Sony lens was just announced at $600, and its optical performance is very promising. I really hope a 16-50mm f/2.8 lens is on the horizon for the APS-C line of Sony cameras.
About the author: Manny Ortiz is a Chicago-based photographer with a passion for “capturing the true spirit and personality of the people that I photograph.” To see more of his work, visit his website, follow him on Instagram, or subscribe to his YouTube channel. This post was also published here.


from PetaPixel https://petapixel.com/2017/02/28/5-pros-cons-honest-review-one-year-sony-mirrorless/