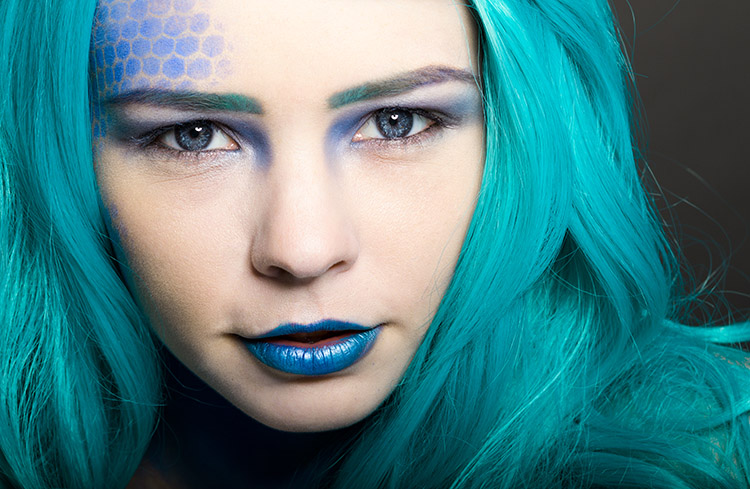
When photographing people, every session is different and every subject is different. This leads to a lot of scope when it comes to lighting choices and experimentation. This variety is fantastic, and it’s a large part of why portraiture is such a rewarding pursuit.
Unfortunately, with too much experimentation, it is all too possible to end a session with a collection of sub-standard images. Yes, this exactly how to grow and develop as a photographer, but where does that leave your subject? Often enough, this situation means that you’ve gotten what you need from the session, chiefly experience, but the subject is left with less than stellar photos for their time. This isn’t much of a problem if you’ve wrangled your kids to sit for you, or if you have paid someone else to pose for you. If you’ve been paid for this portrait session, however, this becomes problematic and can be devastating to your future efforts.
A good way to alleviate this is to always include a technique that you’ve practiced thoroughly. Doing this may not ignite your creative spark, but once it’s done, you can experiment until your heart’s content, while safe in the knowledge that you will still have something usable at the end of the day.
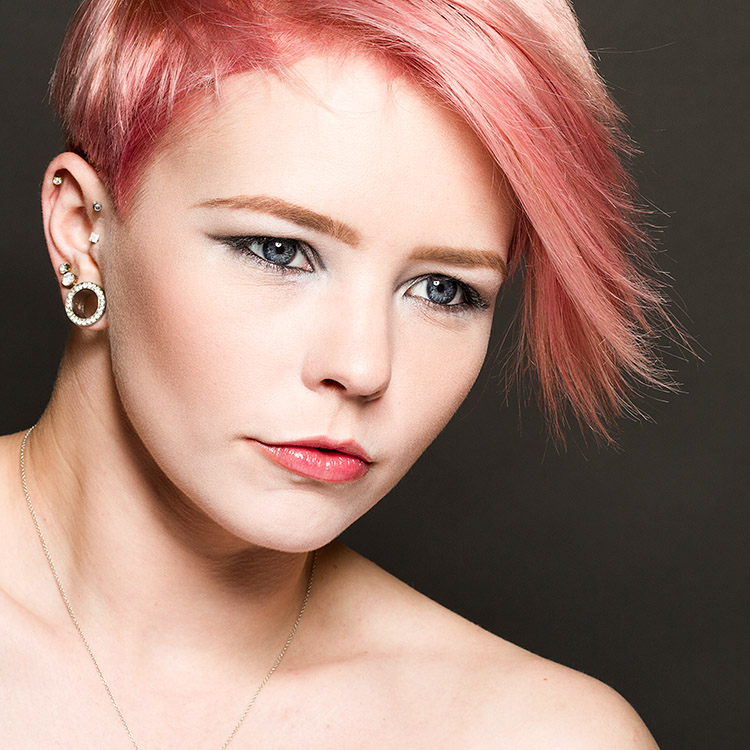
This article will give you a simple, yet solid, one light technique that works with strobes, flashguns (speedlights) and even window light. It will work with just about any modifier and suits men, women, children, and other subjects just fine.
Equipment
Here’s a list of what you need:
- A light source: Either flash or window light will work. In terms of modifiers, beauty dishes and softboxes are a great starting point.
- A white reflector: Don’t have a dedicated reflector? A sheet of white poster board or foam core is a perfect and cheap substitute.
Set up
First, have your subject stand or sit where you need them. If possible, keep them at least five feet from the background. Place your light source directly in front of them, between two and four feet away (60-120cm). Angle the light source (if using flash) so it’s pointing directly at your subject. Watch the shadows falling under their nose and mouth. For this technique, you’re looking to minimize the contrast on your subject’s skin. If the shadows are too long, lower your light source until they are minimized (also make sure you can see the light in their eyes as a catch-light).
Place your reflector directly against your subject, and parallel to the ground at waist level. For ease, you can place it on a stool or a card table. If your subject is sitting, just have them hold it across their knees.
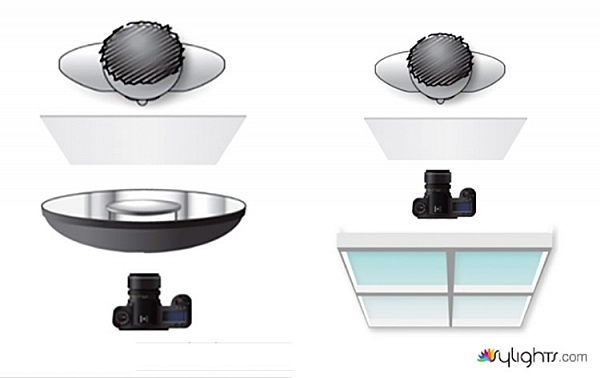
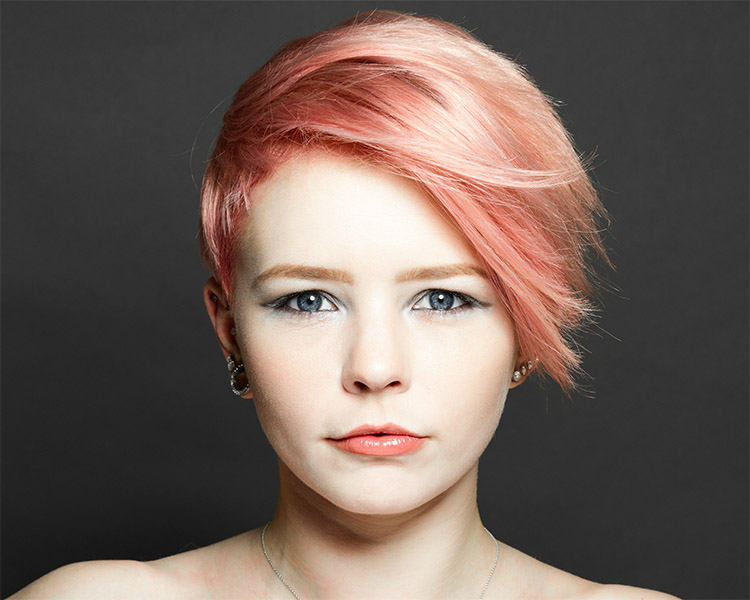
Because the light source will be so close to your subject, you will need to shoot from directly underneath it. Calculate or meter your exposure and take a test shot. If all is well, you should have a good, clean portrait with soft light.
Backgrounds
You can change the way your background appears in the image by moving your light source if you’re using flash, or by moving your subject if you’re using window light.
With flash, to get a darker background, you simply move your light source closer to your subject. To get a lighter background, move your light source away from your subject. Moving your light source will require you to change your exposure. You can do this with your aperture settings or on the flashes themselves (turn the power up or down accordingly); it’s your choice.
With window light, you’re forced to move your subject instead. For a darker background move your subject closer to the window. For a lighter background, move them farther away. As with flash, this will also result in changes to your exposure. This time you can choose between shutter speed and aperture.
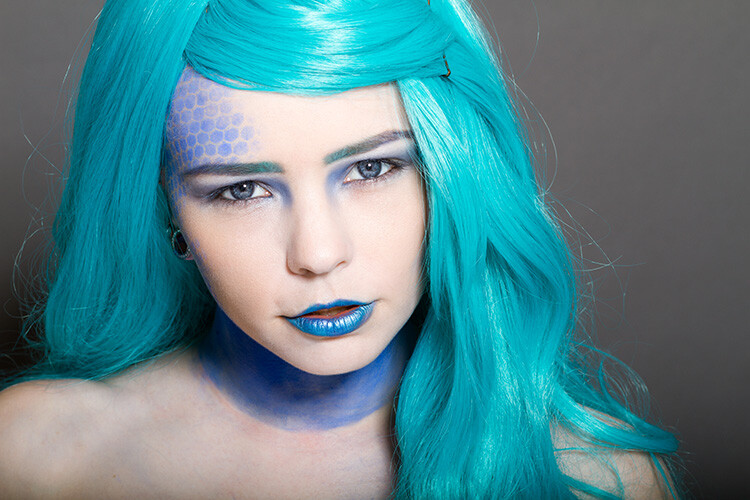
Farther from the window
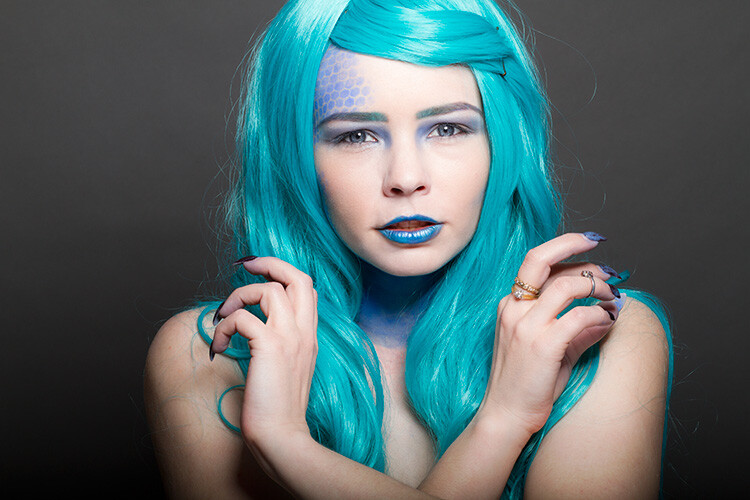
Closer to the window
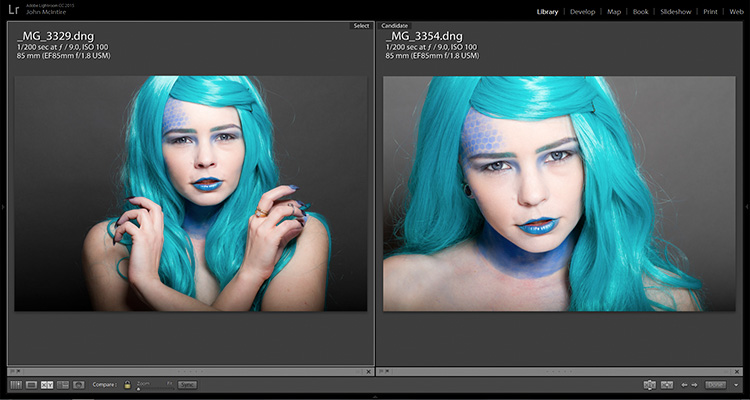
You should also be aware that the softness of the light is changed when you adjust the distance between your subject and the light source. If the distance between your light source and your subject decreases, the light will be softer. If that distance increases, the light will be harder.
Tip: If there are shadows falling on the background in your frame, your subject is too close to the background. Try moving your whole setup away from the background a few feet.
Angle of light
You can place your light as high as you want and still get good results; however, for really soft, bright skin you will want to minimize the contrast in blemishes and skin texture. To do this, make sure your light is only slightly higher than your subject, and pointing directly at them. As above, watch for the shadows under the mouth and nose. If they’re long and pronounced, try lowering your light until they disappear.
Window light
If you’re using window light for this technique, the biggest thing to watch out for is you. Because you are lighting your subject from the front, it is all too easy to find yourself blocking your light source. With extremely large windows, this isn’t much of a problem, but with a window in an average home, it can be a pain. One way to sort this is to have your subject sit. That way you can sit, squat or kneel and avoid blocking any light.
In the end
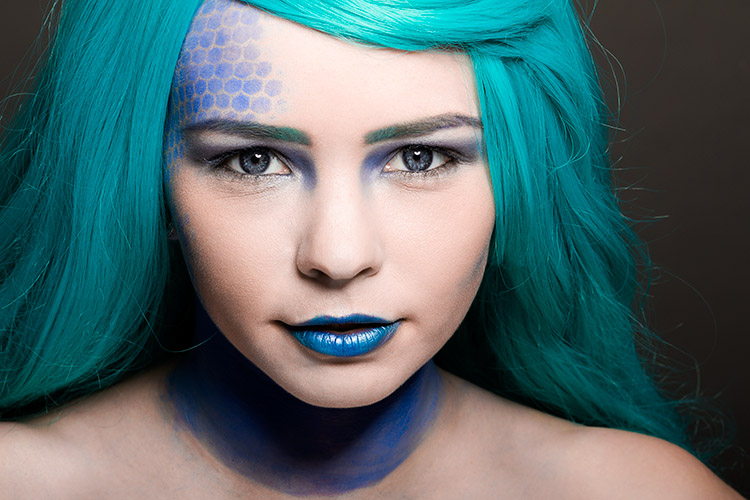
This technique may seem simplistic in writing, but it is effective and it yields good results. It also takes only a few attempts to nail down. By adding this technique to your toolkit, you’ll be giving yourself something solid to fall back on, should things not go to plan in other ways.
If you decide to give it a go, please feel free to share your results or ask any questions you may have.
People photography week
This week on dPS we’re featuring articles all about different kinds of people photography including portrait, event and travel photography. See all the previous ones below, and watch for more people photography articles over the next few days.
The post How to Do a One Light Portrait Setup and Use it as Your Back-up Plan by John McIntire appeared first on Digital Photography School.
from Digital Photography School http://digital-photography-school.com/how-to-do-a-one-light-portrait-setup-and-use-it-as-your-back-up-plan/
No comments:
Post a Comment