For over a hundred years, double exposures have captivated photographers and art enthusiasts alike. Discovered by pure chance, a double exposure is a trick where a single frame of film is exposed twice or more in order to achieve multiple images in a single shot. This results in a photograph that comes out as a combination of the two images that were shot, one superimposed on top of the other.
From the technique’s boom in the 1860s, this inspired accident created an avant-garde trend that could only be described as one of the most creative uses of photography. Today, you don’t need to shoot on film to be able to create wonderful double exposures. Digital cameras are all capable of performing this unique trick!
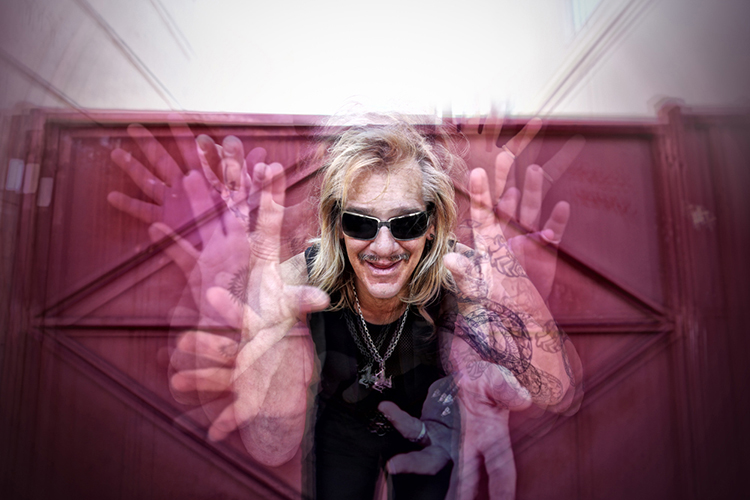
There are five key steps to creating a basic double exposure on a digital camera. Let’s look at them one at a time.
1. Conceptualize
Although spontaneity and experimentation in photography are excellent (and very important learning processes in becoming a good photographer), more difficult techniques require further planning and forethought. It is far easier to produce a successful and satisfying double exposure when you conceptualize the image(s) beforehand, than fumbling around for hours producing work that may leave you feeling frustrated! To begin your plan, ask yourself a few simple questions:
- What is my subject?
- What is my background?
- What is this image’s purpose?
- What resources do I have available to me?
After you have answered these, you should have a much better idea of what your finished photograph will look like. As such, bringing your vision to life will now be a breeze!.
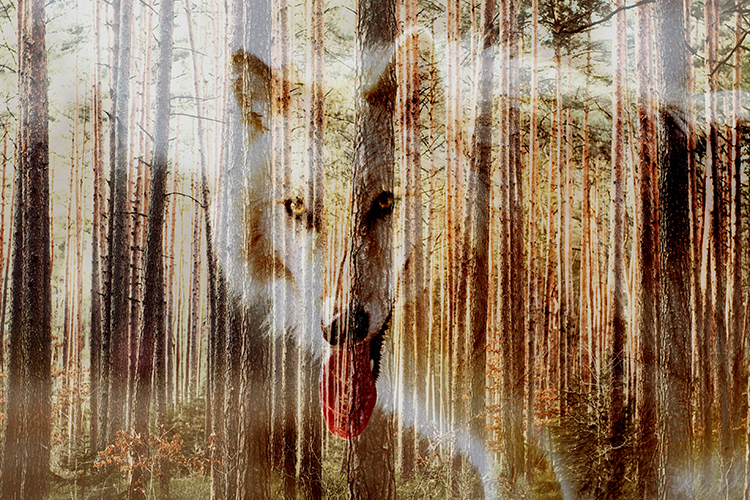
2. Multiple exposures settings
For film, you would simply shoot on the same frame multiple times by re-rolling (or not advancing it) the film. Since digital is not a roll, you will have to dig into your camera’s settings (check your user manual if need by) and do a couple of tweaks. Most digital cameras, such as Canons and Nikons, have a multiple exposure setting to allow you to generate these distinctive images.
Often found in the menu, the multiple exposure setting will more than likely host an array of options.
One of the main selections presented is choosing how many images you would like to overlay. Most cameras range from two to ten. For the purpose of this simple tutorial, we will only be using two images. At the bottom of this article, I will mention how to use far more than two photographs for advanced techniques.
Another important option will be Multi-Exposure Control (or blend mode). This tells the camera how you want your images composited together. The options are typically Additive, Average, Dark, and Light.
Blend mode options
Additive means that your images will simply be overlaid one over the other without any special considerations (see below).
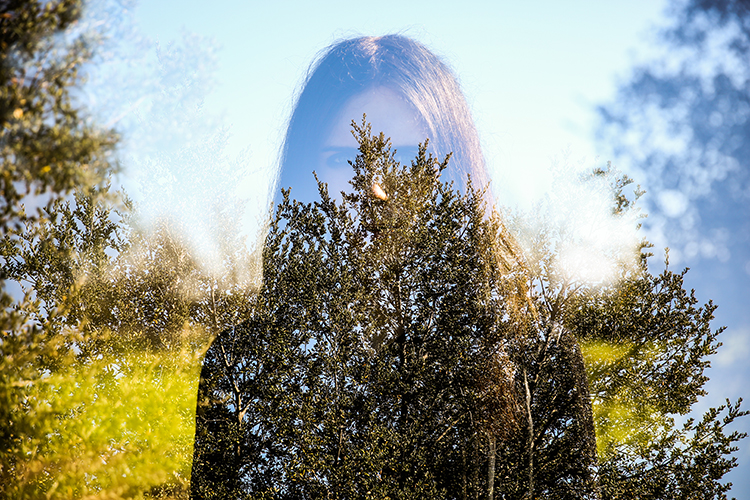
Average (which is similar to Additive) means that the camera will automatically adjust the exposure in any overlapping areas to prevent overexposure, based on the number of exposures you combine. Any non-overlapping areas will be rendered with a normal exposure.
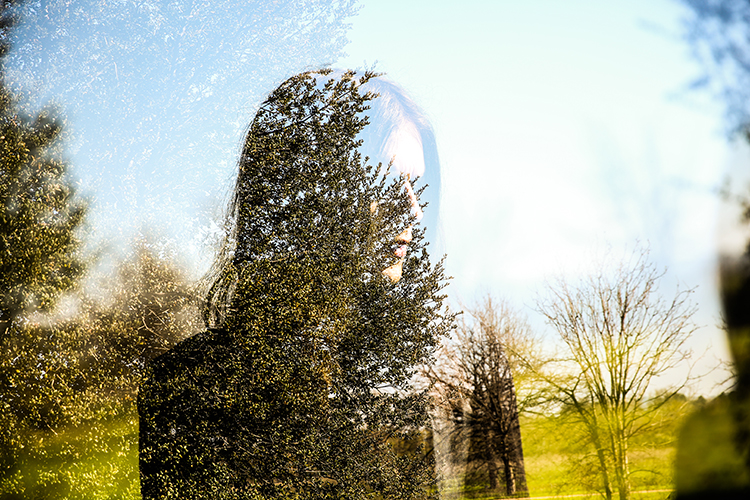
Bright means that exposure priority will be given to bright objects so that they will retain their exposure even when combined with a dark background.
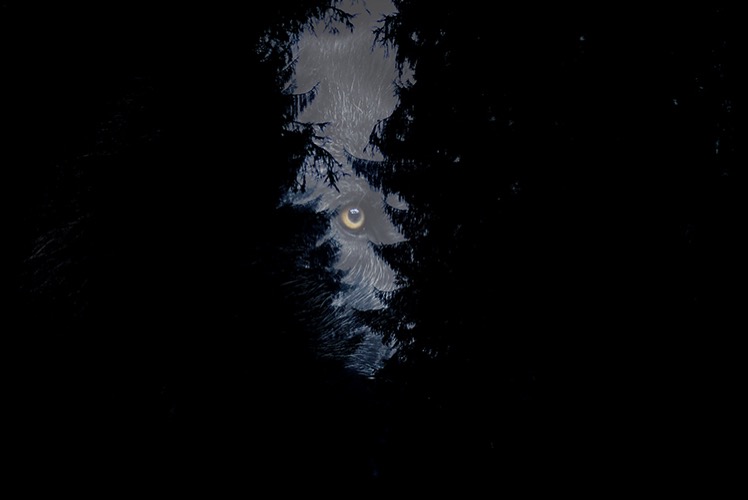
Dark means that exposure priority will be given to dark objects so that they will retain their exposure even when combined with a light background.
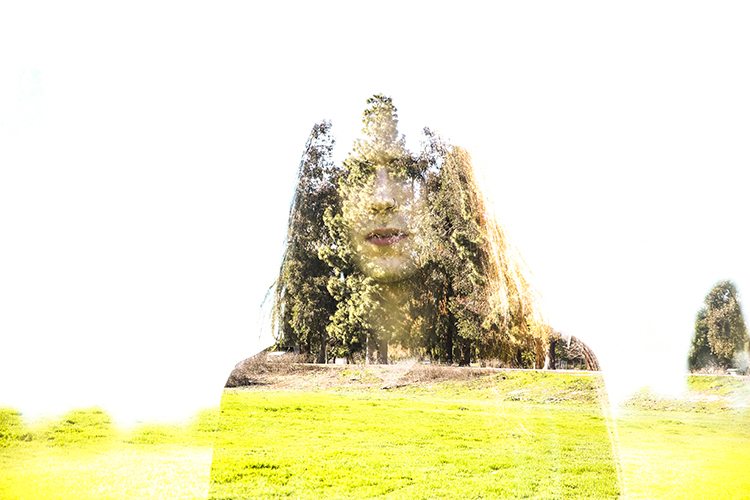
The final main setting should revolve around the actual physical camera controls. On Canon and Nikon cameras, you will most likely be presented with two options: Func/Ctrl (which allows you to pick your base image before shooting) and ContShtng (which means that you just photograph images one after the other and they will be composited).
Every camera is different, so remember to please reference your user manual for more detailed information.
3. Photograph the silhouette
A silhouette is the shape that will be filled by your background of choice. The key to this is making sure that your silhouette subject is photographed on a plain background. Don’t worry too much about properly exposing the details on your subject, all of that will be covered up by your background. Focus on making sure that the area around your subject is clear of objects.
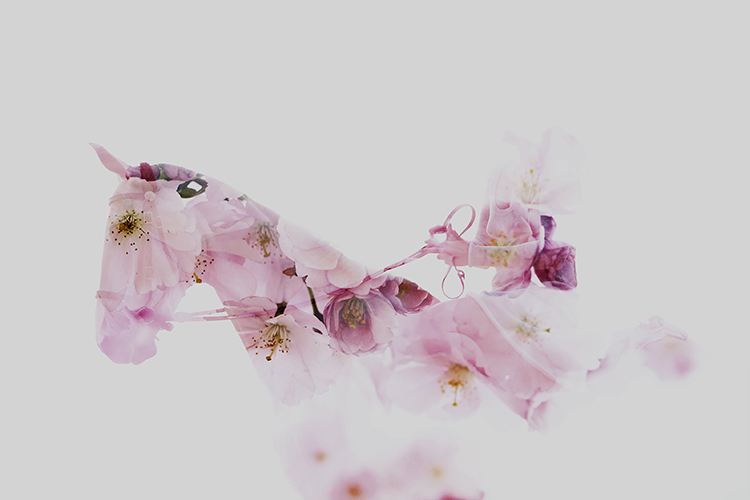
The first thought that may pop into your head is using a studio, but that isn’t necessary. You don’t have to be in a studio to photograph your subject on a clean background. You can photograph your subject on a plainly colored wall or better yet, you can go outside and use the beautiful open sky above you.
To photograph your subject in front of the sky, shoot from a slightly lower angle to make sure that no additional clutter ends up disrupting your clear sky. Depending on your geographical position, the easiest time of day to photograph your subject is about an hour before sunset. The right exposure will ensure that no flare ends up in your photograph.
4. Photograph the background
This is the texture or image that will fill the silhouette you just captured. Good options for this image are well exposed trees, landscapes, flowers, mountains, or patterns. Make sure that your background is well lit, as to not lose any details. If the background is over or underexposed, the resulting image may be hard to read.
When picking your background, consider color, complementary shapes, and how these factors all correlate with one another to produce a great double exposure. If your silhouette is a soft, female form, think about using flowers with complimentary delicate shapes. If your silhouette is a rugged form, think about using some strong-featured trees to accent the silhouette’s configuration.
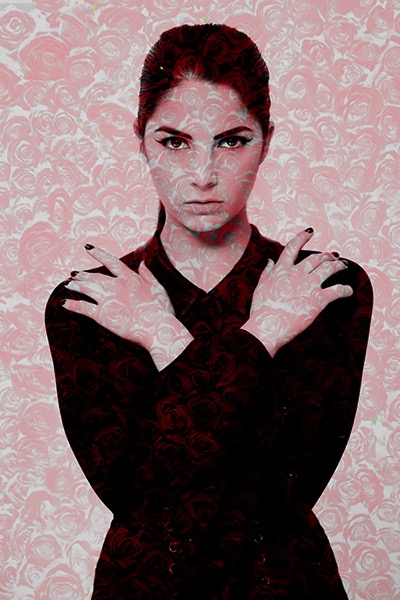
5. Watch the images line up
On some cameras, you need to remember the positioning of the two images. On others, you can use the Live View feature to actually see how the images line up before taking the last photograph. In either case, watch the photographs come together, and look in awe at your masterpiece.
The aforementioned steps are just the foundation for creating a simple version of these painterly images. The double exposure technique can be utilized for a variety of purposes, styles, and effects. Instead of just using two photographs, utilize three or more to create entirely new types of imagery. Here are some advanced techniques to really push the limits of double exposures:
Using double exposures for movement
Double exposures are a fantastic way to express artistic movement in an image and have the viewer move their eyes around the frame. Set your number of frames to three or more, and have your subject move differently in each shot. When the images are composited together, you will generate an image that showcases a lot of movement.
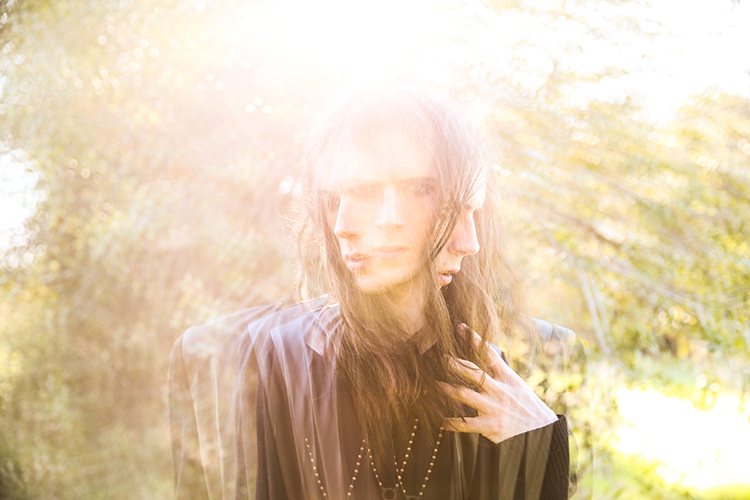
Using double exposures for sequences
You can use double exposures to create a step-by-step sequence in a single image. When Continuous Shooting (ContShtng) is selected in the settings, put the camera on a tripod, and fire away at your subject without panning (following the subject with your camera). Make sure that your focus settings are set to AI Servo for Canon or Continuous-Servo AF (AF-C) for Nikon (which means that the camera will lock focus on your subject and hold that focus no matter where the subject moves.
You want to keep the camera as still as possible so that the not-moving parts of your photographs do not have any overlap distortion. Your finished composite will feature every step in the sequence.

Super-imposing without photo editing software
Upon its discovery in the 1800s, a significant use of double exposures was to super-impose without needing to physically combine or paint photographs in the dark room. Today, although we have access to incredible post-processing and retouching programs, editing can be quite time consuming. A good way to combine images without the need of Photoshop is by utilizing this infamous technique.
Instead of silhouetting your subject and picking a background, you will now be placing subjects together. Similar to what was done with sequencing above, put the camera on a tripod to make sure that the frame does not move (as to not have any distortion on still objects.
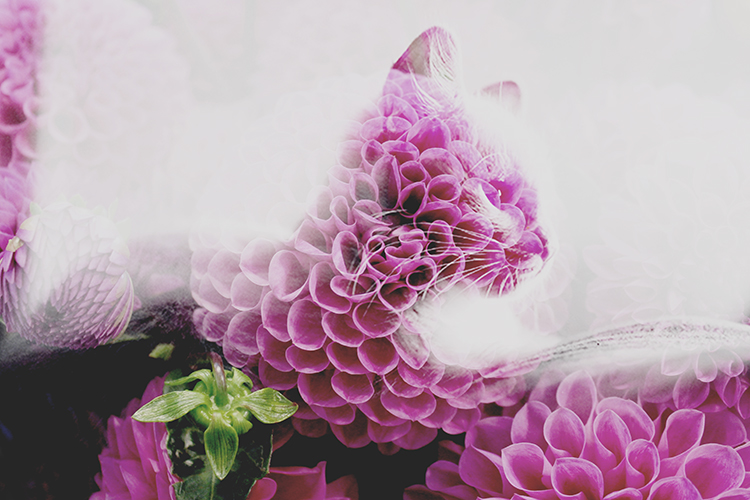
Ghosting
Back when double exposures were first discovered, many photographers of that time loved to create ghostly images. The concept of ghosts were quite prevalent because of the world’s tumultuous history. Photographers and artists alike were captivated with this eerie subject matter, and fascinated with the audience’s response to that kind of image.
To create your own ghostly photograph, set your camera on a tripod. Photograph the background location. Then for the next image, set your shutter speed quite low to create some motion blur. Finally, have someone slowly walk through the frame and take a picture. The composite will feature a ghostly presence.
Now that you’ve finished this guide, go out there and take some phenomenal double exposures. Please share your images and comments below.
The post How to Take Unique Double Exposures Without Using Photoshop by Anabel DFlux appeared first on Digital Photography School.
from Digital Photography School https://digital-photography-school.com/how-to-take-unique-double-exposures-without-using-photoshop/
No comments:
Post a Comment