Props: are they a blessing or a curse? In photography, props can often make or destroy a photo, and because of this some people try to avoid them, some are afraid to use them, and other people love to use them.
I moved from being afraid to loving props because I found they are amazing tools to unlock creativity.
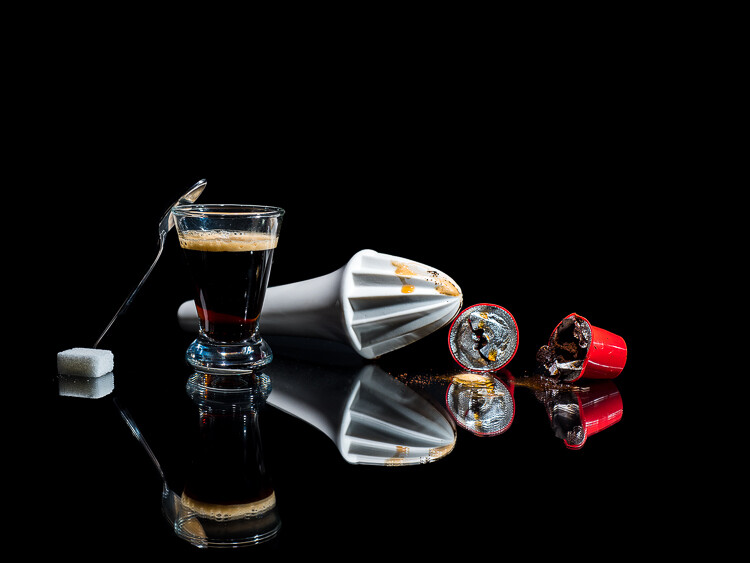
Freshly squeezed coffee. A different way to prepare a fresh cup of coffee.
Why use props?
Usually, the role of the props in photography is to help add character and interest to a photo, or to add context to the scene.
Some kinds of photography, such as conceptual photography, cannot exist without props, as they are needed to translate the abstract concept or message into an image.
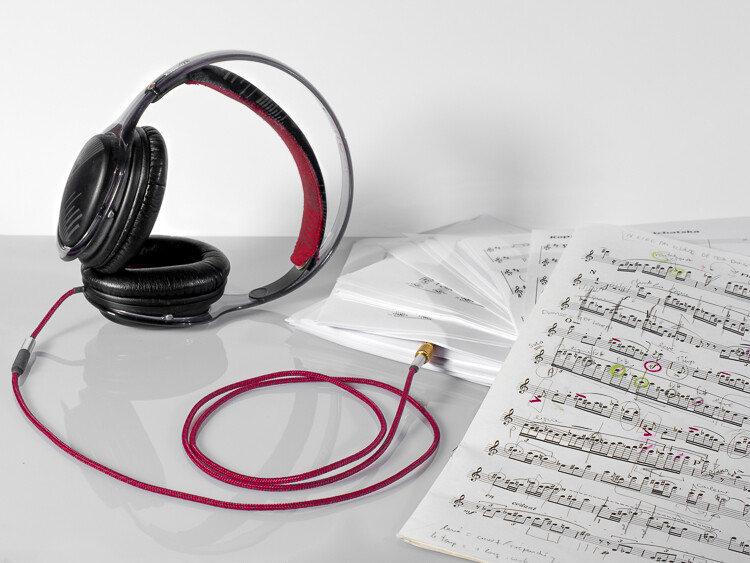
Musical scores.
Props in commercial photography
In tabletop photography (product, food photography, and still life), props are used to build the scenography of the photo you are crafting.
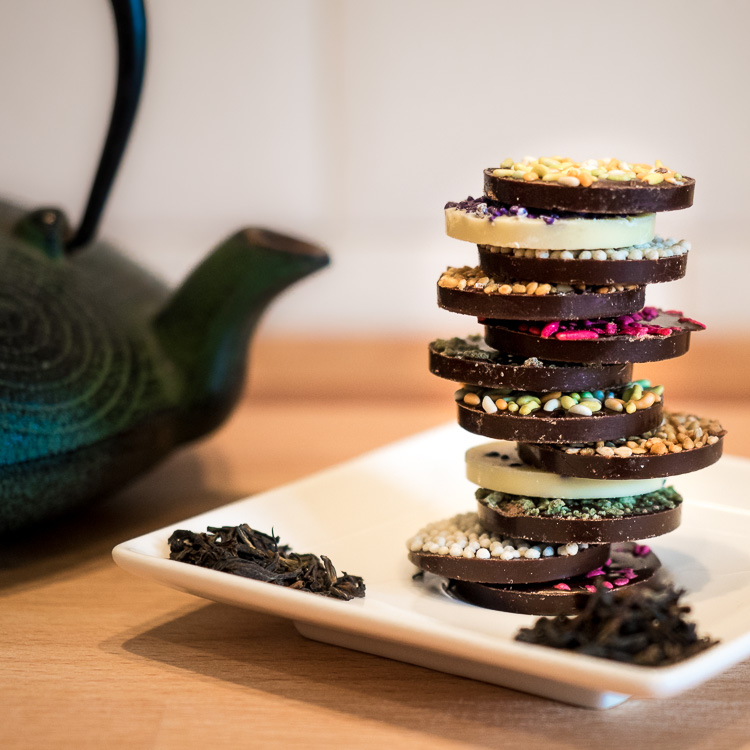
The teapot, the plate, and tea leaves are all elements of the scenography used for the pile of chocolate biscuits in this a classic food photograph.
Props in landscape photography
Props are sometimes present even in landscape photography, usually with the task to add interest to the foreground. A classic example would be to photograph a camp site in the wilderness, with a lit tent under a starry sky.
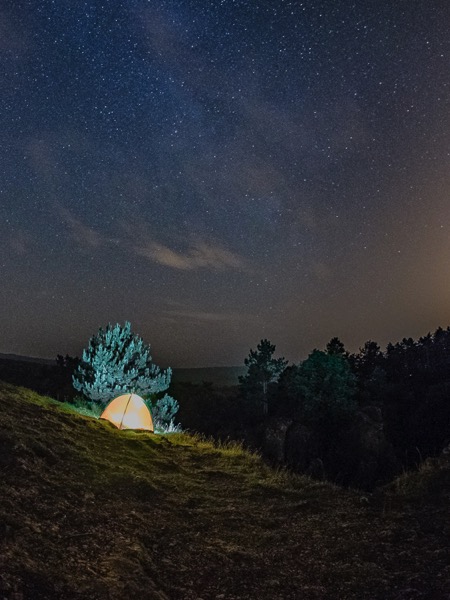
This tent is, indeed, just a prop. I brought it along with me solely with the intent to add interest to this nocturnal landscape.
Props and portrait photography
Using props will also help you to create more interesting portraits. Are you into self-portraiture? Cool, but there is only so much you can do with your face, and after a while you will probably feel the need to start using props, The more creatively you can use them, the better and more interesting your portrait will be.
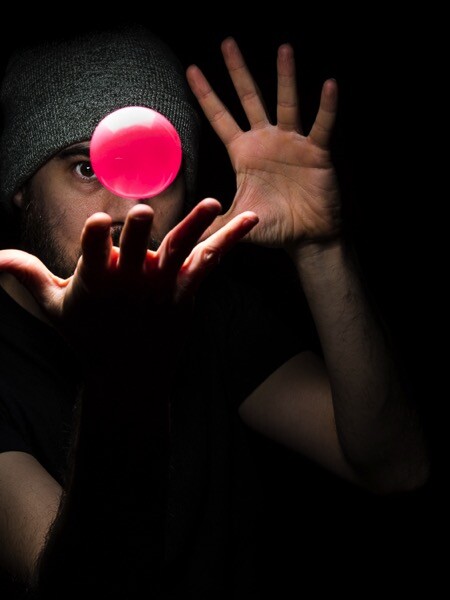
A simple ball thrown in the air with a bit of timing can make for a dynamic, “It’s a kind of magic” portrait.
So, props are all those objects that photographers add into the scene they’re photographing that are not the main subject of the image. I don’t consider hats, jewelry, wristwatches, and all those accessories your model wears for a portrait, to be props.
Another plus with props, especially in portraiture, is that they can help your model to be more comfortable in front the camera by giving him/her something to do or to focus on, thus forgetting about you and your camera.
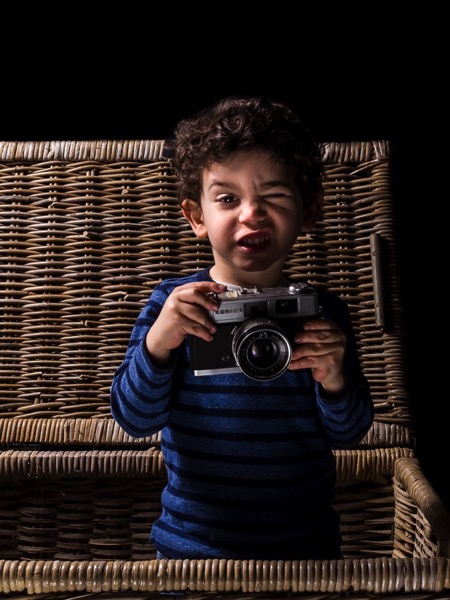
A prop in the hands of a 3 year old toddler (my son in this case) can lead to interesting results without making a fuss.
Things to look out for using props
So where is the problem with the use of props? Why people can be negative about them? My guess is because they are so widely used in photography that the risk of fall into photographic clichés is quite high.
Below are five tips to help you be creative with props, instead to fear them.
Before you continue allow me a final word. While it is true that many things can be do inside editing software, to really exercise your creativity don’t be a lazy photographer, craft your images for real as much as possible.
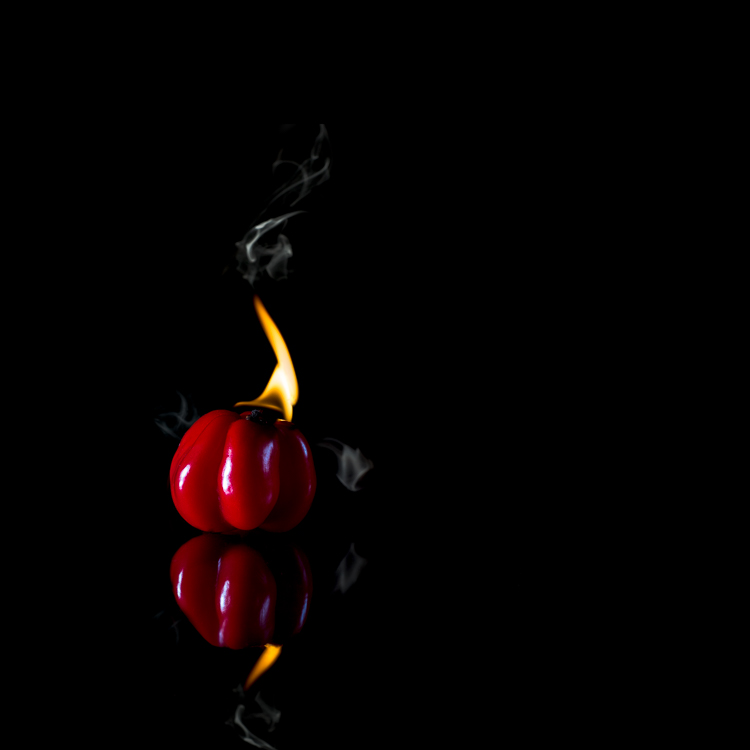
I consider the flame and the smoke in this photo of a hot pepper to be props. The fun in crafting the image with real fire and smoke was unbelievable.
Tip #1: Use a classic prop in a fresh way
Old film cameras are classic props in portraiture, and the ways to use them are variations of my son’s portrait you saw above.
Among those cameras, the most photogenic ones are, in my opinion, the TLR (twin lens reflex) cameras, such as Rolleiflex, Rolleicord and Yashica. Because these cameras have a huge focusing screen you have to look into from above, the usual way to use these props is to have your model look down into the camera.
A less common way to use those TLR cameras as props is to take advantage of their massive focusing screen, which is many time larger than any SLR camera viewfinder, and to photograph the scene the TLR camera is seeing.
Once you get the setup right, don’t stop after the first shot, but experiment with poses and props.
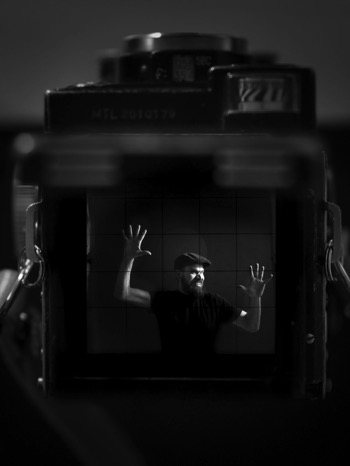
Trapped! |
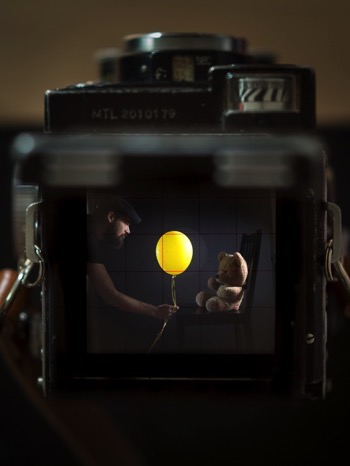
To reveal the child inside us. |
Tip #2: Build your own props
Another way to get creative with props is to craft them yourself. This will not only ensure you have unique props to work with, but the whole process of making the props will make you think more creatively about how to use them.
A one meter long, origami paper boat, and a yellow balloon are good props to make one of my son’s fantasy and childish adventures come to life.
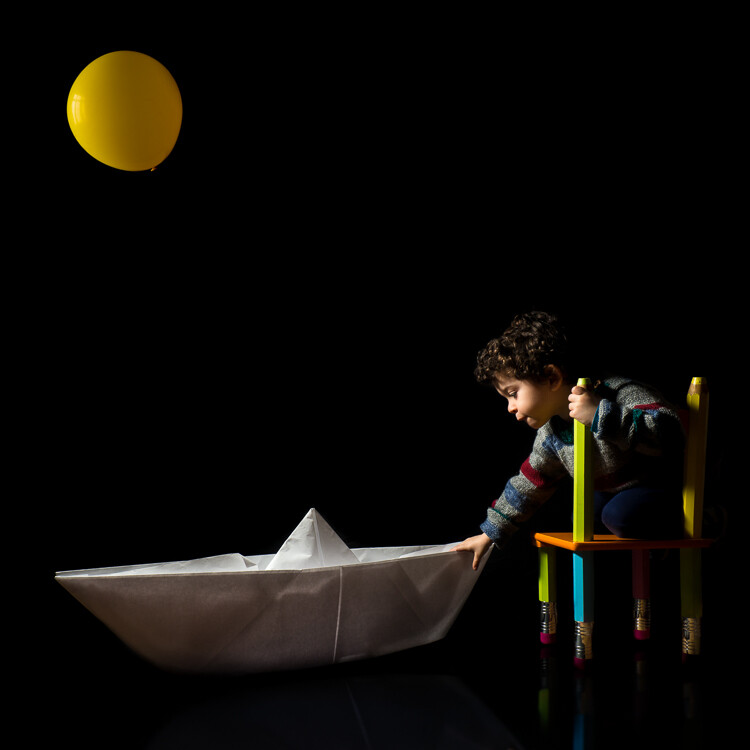
A fantasy childhood adventure gets real in this photo.
If you are into origami, and tired of taking the usual portraits of your children, you could try to create adventures for them by folding big paper planes or animals, or whatever you know how to do with a piece of paper. Plus, you can find plenty of origami tutorials waiting for you online.
Once again, it is true you could easily compose the adventurous portrait of your child by adding elements to the photo later in Photoshop. But, again, what fun would that be for both of you?
Tip #3: Break the physical laws and go surreal
One of my favorite prop to work with are helium balloons, those you usually buy for parties. They are colorful, cheap, long lasting and very versatile.
Inspiration for their use is everywhere; have you watch the animation movie Up recently? Cool, wouldn’t it be fun to fly away holding tight to a bunch of balloons?
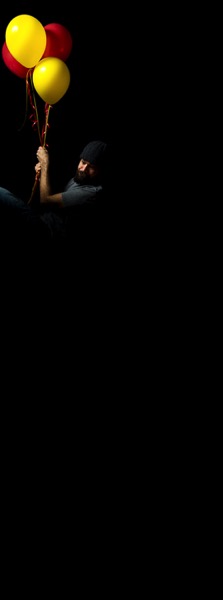
Up, up we go. Here the low key really helped a lot to make the pose believable.
What about breaking the physical law by playing “tug of war” with those balloons, instead?
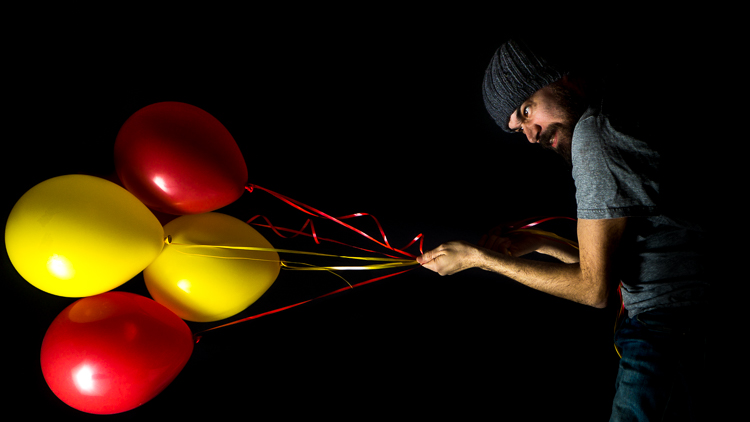
Up and Down are quite arbitrary in this kind of photos. Here I was lying down on the floor but I tried to keep my shoulder off the ground, so that once I turned the photo 90 degrees counterclockwise, the pose was still believable. The low key helped by getting rid of the floor.
Tip #4: Prep your props
Sometimes, you can obtain something original just by prepping up a classic prop, such as the omnipresent book. Books are often used to fill a still life scene, or to get more interesting portraits.
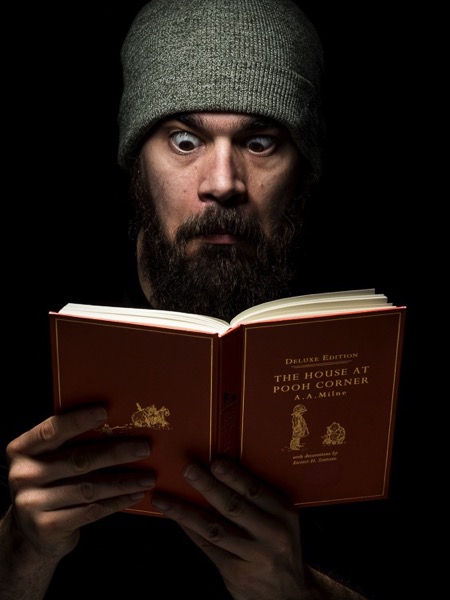
A funny contrast between the surprised grown up, rude, and bearded man, and the book of one of Winnie the Pooh adventures.
To make things more interesting, dynamic and less cliché, you can prep a book by sprinkling body powder on its pages and then have your model to blow the dust off while you take the photo. Or have him slam the book shut just before you fire the shutter, so to record of white powder flying out the book creating clouds.
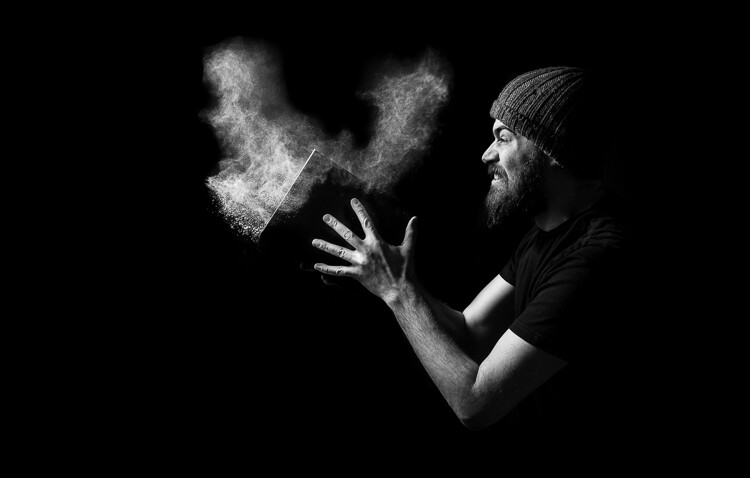
By adding body powder to the mix, you can obtain much stronger and dynamic portrait.
Powder makes things much more interesting, and the only limit is your creativity (or the absence of a working vacuum cleaner to clean up after the mess). You can sprinkled some body powder on a ball (another common prop) and make your model hit it with the hands just before taking the photo. You will capture great puffs of powder, helping to convey a feeling of action and power.
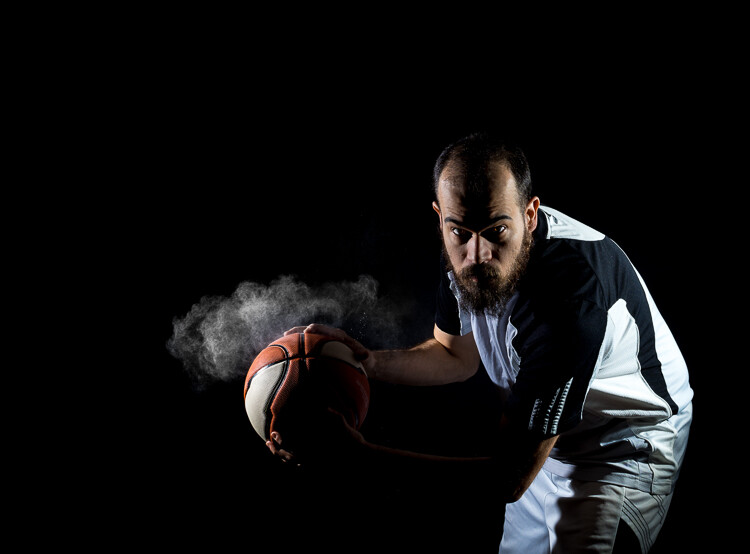
Basketball and body powder mix in interesting ways.
Tip #5: Go crazy with conceptual photography
While it is challenging per se, I consider conceptual photography to be the best playground to learn to be creative with props.
When you do conceptual photography, your subject will be a concept, and the challenge is to translate it into an image by using props. At first, keep it easy, and don’t be afraid to get inspired by the work of other photographers.
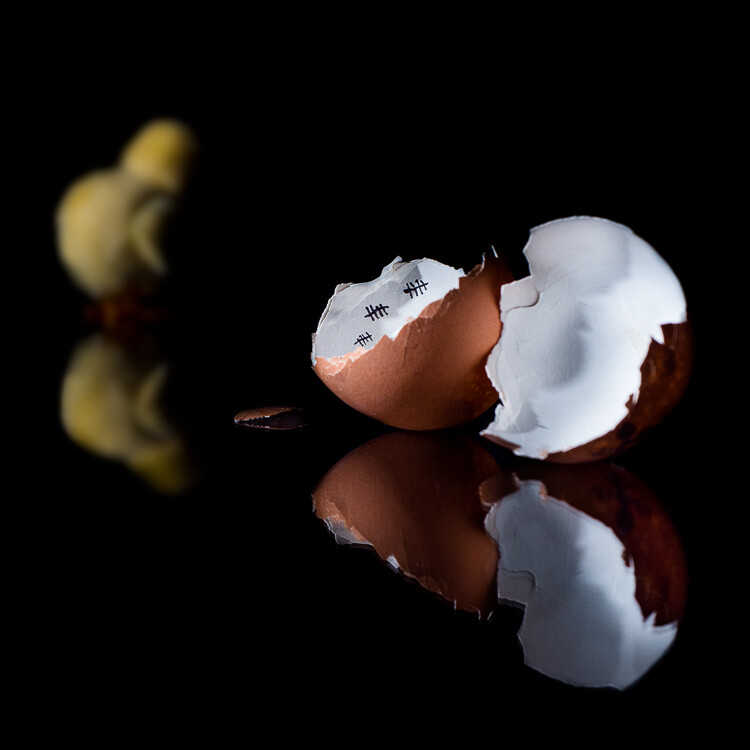
The chicken’s great escape, a concept I saw online and I made it mine by using my personal style, and adding the escaping chicken.
Because you want to convey a message, even with the simplest setup, you have to pay attention on how you place your props into the scene.
In the previous photo, the dark, out-of-focus chicken in the background is there to give the idea of the chicken moving away from the egg. While the broken shell with marks on its inside make the viewer think of it as the chicken prison. Had I placed the chicken in the foreground, in-focus and well lit as the egg’s shell, the message would have lost some strength.
When you do conceptual photography, do not focus on the photography aspect at first, but let your ideas and concepts spawn naturally from your everyday life. Are you cooking your favorite food? In that moment the idea that photography is a bit like cooking could strike you.
In photography, as in cooking, you combine what reality puts in front your lens (the ingredients) to create your vision of such reality (the finished food).
This idea struck me once and this was my personal way to translate it into a photo: the ingredients are the colorful paper rolls in front the lens of an old TLR camera, and those ingredients combine in-camera to reveal an origami nocturnal seascape crafted using the paper from the rolls. Photography magic.
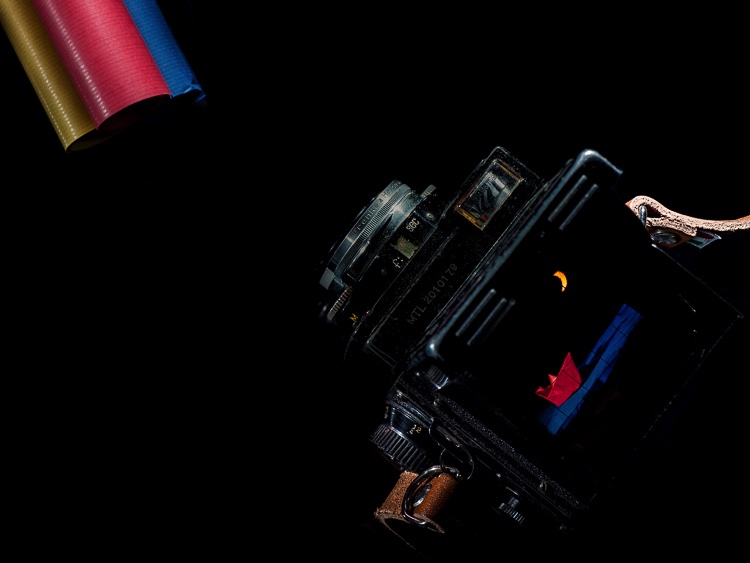
The fun of doing the origami seascape for real and the challenge to frame, focus, and light it, so I could photograph the scene through my old TLR camera, was so much more than just use an editing software to copy/paste, move, rotate, resize and bled all the different elements together.
Once you start this game, you can find concepts everywhere; was your Mexican food too spicy even for a chili lover as you are? Something like that could pop in your mind.
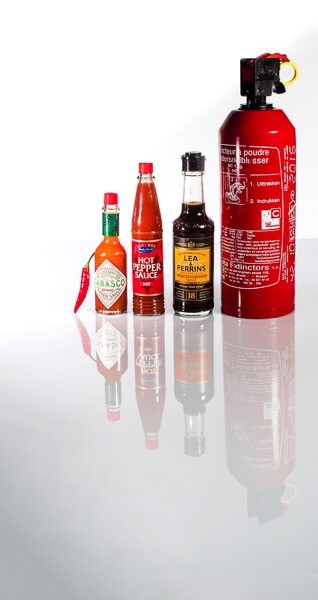
The most useful kit for us chili lovers.
Bonus tip: The hunt for props
Now you know how you can get creative with props in many ways, even using common ones, but it is always good to hunt for more interesting ones.
A good way to hunt for unique and weird props is to visit flea markets and shops selling kitchen supplies, vintage clothes, and such. And then, as usual, once you’ve got your props, use them in a fresh and unconventional way.
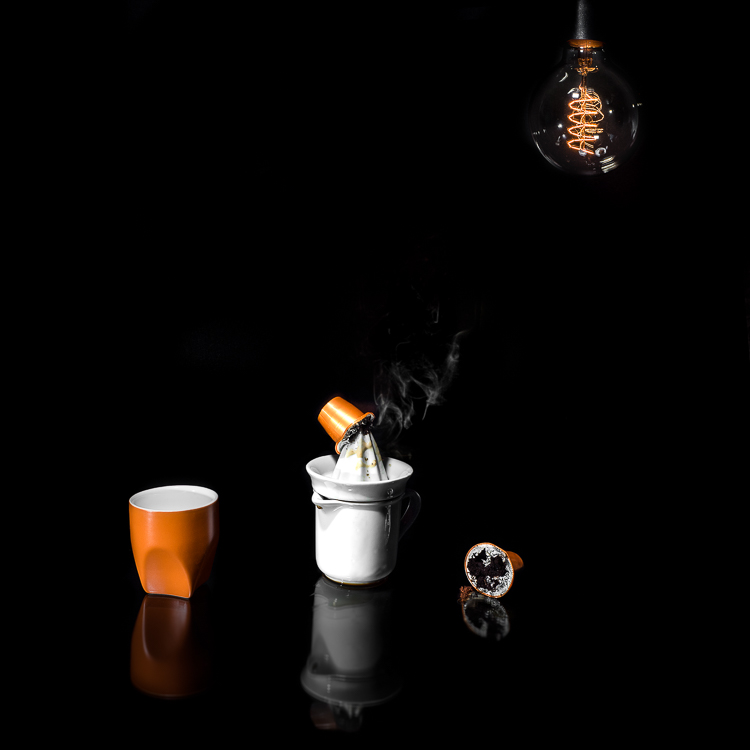
A variation of the concept shown in the photo opening this article; the same concept can be photographed in many different and original ways. Creativity is your only limitation.
Once again, the way you use and prep the props is crucial to create a convincing image. The coffee stains on the table and the squeezer, the squashed and broken capsules, and the smoke from a hidden candle, make the viewer understand what the meaning of the photo is, and the reason behind those props.
Conclusions
Don’t be afraid to use props in your photography to add something more. Just remember to use them wisely and creatively to push your photography further, and to avoid falling into photography clichés.
The post How to Boost Your Creativity by Including Props in Your Photography by Andrea Minoia appeared first on Digital Photography School.
from Digital Photography School http://digital-photography-school.com/how-to-boost-your-creativity-by-including-props-in-your-photography/
No comments:
Post a Comment